
What started as a small project quickly snowballed; taking way more time than anticipated, going through multiple scrapped plans and hardware changes, my fingers still hurting from making cables and pushing pixels through corrugated plastic. But for all the overkill, it does look pretty.
It started when I ordered two strands of Govee RGB patio lights offered as a Black Friday special. Installed them, and they seemed to work fine, until the next night, when the lights did not return to the previous state, just white. Our holiday light outlets are powered sunset to 11pm, and although the Govee app does have an option to remember the last state, it did not work when completely powering down, only when using the soft power button, fail.
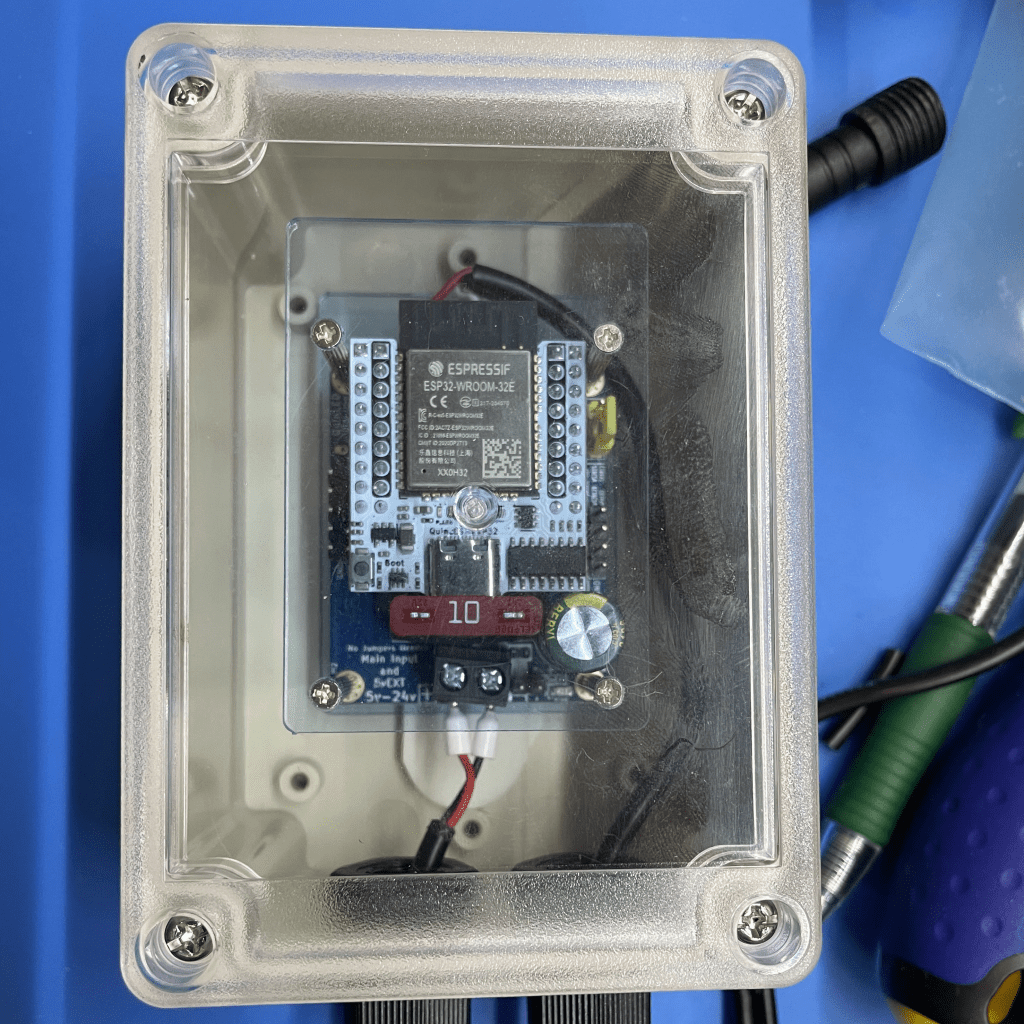
I needed a working solution, and I had an idea. I follow Intermit.Tech on YouTube, so I was familiar with his QuinLED boards and WLED for RBG LED sequencing. I ordered a QuinLED-Dig-Uno, an ESP32 with 3.3V to 5V level shifters, fused outputs, and running WLED.
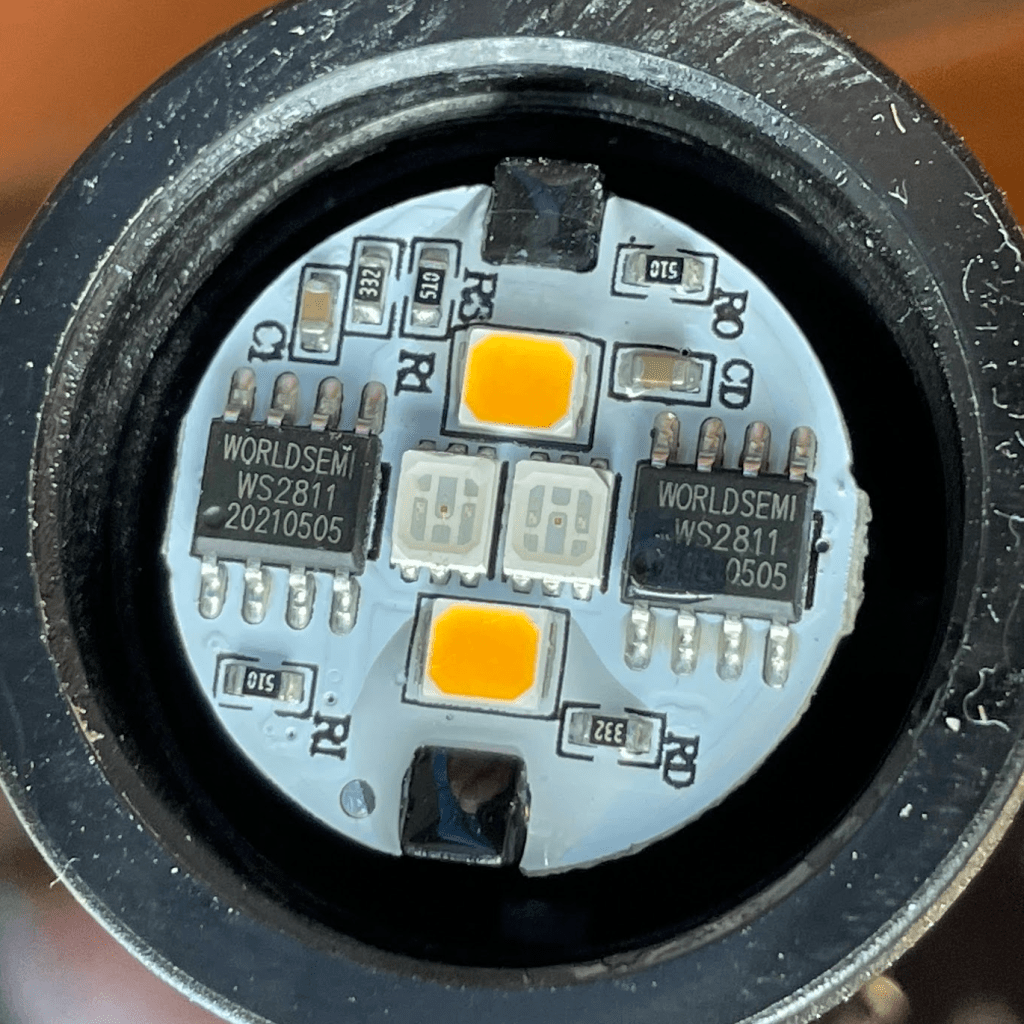
I replaced the Govee controller with the QuinLED-Dig-Uno, re-using the same connectors and power supply. The results were confusing, the lights worked, but only half the lights, and colors were wrong. It turns out that the Govee lights are RGB and W, with two WS2811 controllers per bulb, one for RGB, and one for W.
I tried to configure an odd and even sequence in WLED, with mixed results, and eventually used the mapping function to create a JSON map of the desired output, alternating odd and even WS2811’s, and this worked great, automatically restoring the configured sequence on power on.


Skip forward a couple days until after Halloween, and it is time to put up the holiday decorations. Our multi-color holiday icicle lights were nearing five years in service, and every year I replace a couple failing strands, normally flickering caused by a bad string controller. This year I ran out of spares, could not find replacements, so with my newfound WLED experience, I decided to just use RGB pixels.
A moment of reflection and safety third; every year when I get on the ladder to hang the holiday lights I contemplate risk vs. reward. Couple years ago I stopped hanging lights from the top story roofline, just not worth the risk getting on that 28′ ladder, or lying belly down on the roof edge. As an alternative I’ve considered installing permanent under-eve mounted addressable RGB LED lights, e.g. Jellyfish, Everlights, Trimlight, Oelo, etc., just never pulled the trigger, too expensive and/or installation not locally available. More on this in closing comments.
I’m all set with my WLED plans and I start ordering supplies; QuinLED-Dig-Quad’s, Mean Well LRS-350 12V 350W power supplies, Bud PTQ-11066-C enclosure, cables, pixels, etc. And then one night YouTube recommended Scott Hanson’s WLED and xLights video. After that I’m down the xLights rabbit hole.
What is xLights: “xLights is a free and open source program that enables you to design, create and play amazing lighting displays through the use of DMX controllers, E1.31 Ethernet controllers and more.”
To learn more about xLights and the ecosystem refer to; xLights Videos, Falcon Player, Falcon Controllers, Kulp Controllers, Hanson Electronics, xLights Facebook Group, FalconChristmas Forum, Wired Watts, Wally’s Lights, Matto’s Designs, Boscoyo Studio, etc.
I have to give a special thanks to the xLights Facebook Group and the Zoom Room, where there is always somebody willing and able to help.
I have no interest in animating music with my lights, my use of xLights is really very rudimentary compared to the amazing shows others create, or buy from the marketplace. I’m currently more interested in the technology than the animation.
Switching my focus from WLED to xLights, I learned about pixel quality, supplier reliability, historic issues with failing pixels, fire danger, in-field pixel repair, regulator and resistor pixels, different types of connectors, power injection, etc. With my newfound knowledge I ended up returning much of the no-name products I already purchased, and I quickly found that ordering in November for a major December event, and an electronic component supply shortage, is tough, with many items out of stock, quickly selling out when stock comes in, or simply not available until later next year.
There is the option of ordering directly from suppliers with AliExpress or Alibaba stores, but I found the shipping charges to be outrageous, combined with my fear of unknown quality, I passed. With recommendations from the xLights Facebook group, I bought, whatever was in stock, from US based suppliers with good reputations. I eventually ordered ~2K pixels in strand and icicle form, a Kulp K4-PB controller (at the time the only controller in stock), a couple Boscoyo decorations, and various connector pigtails.
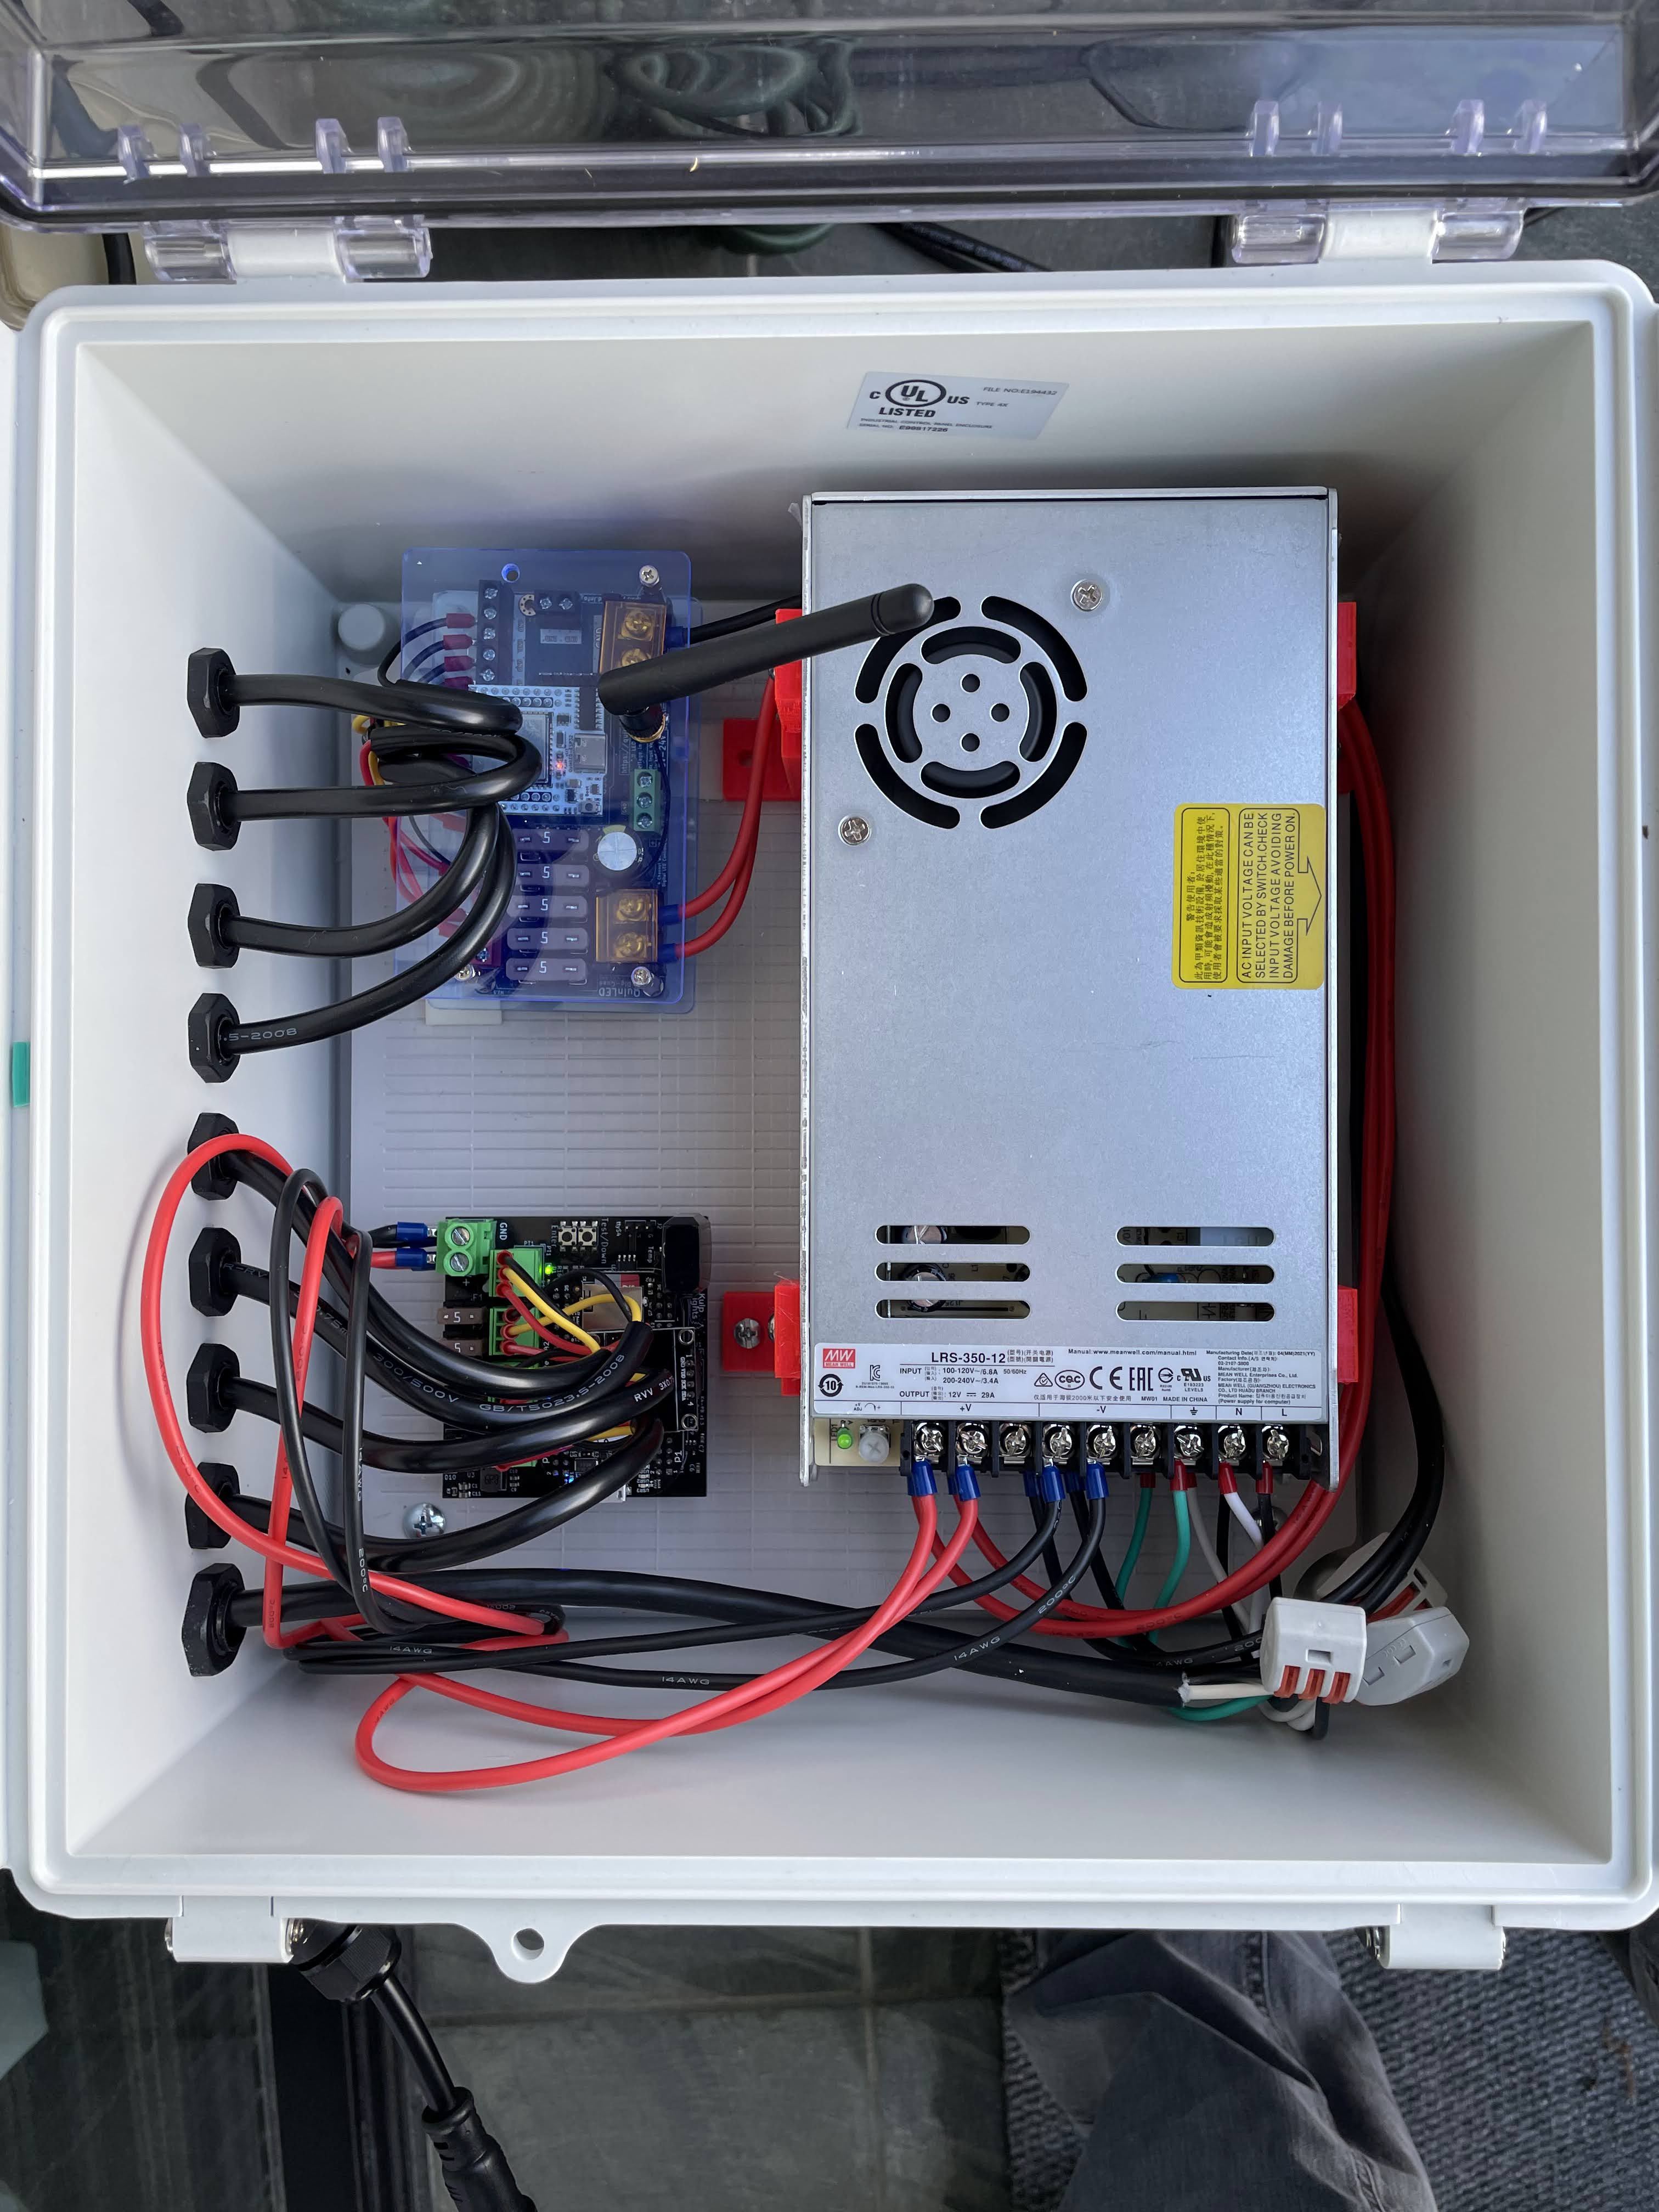
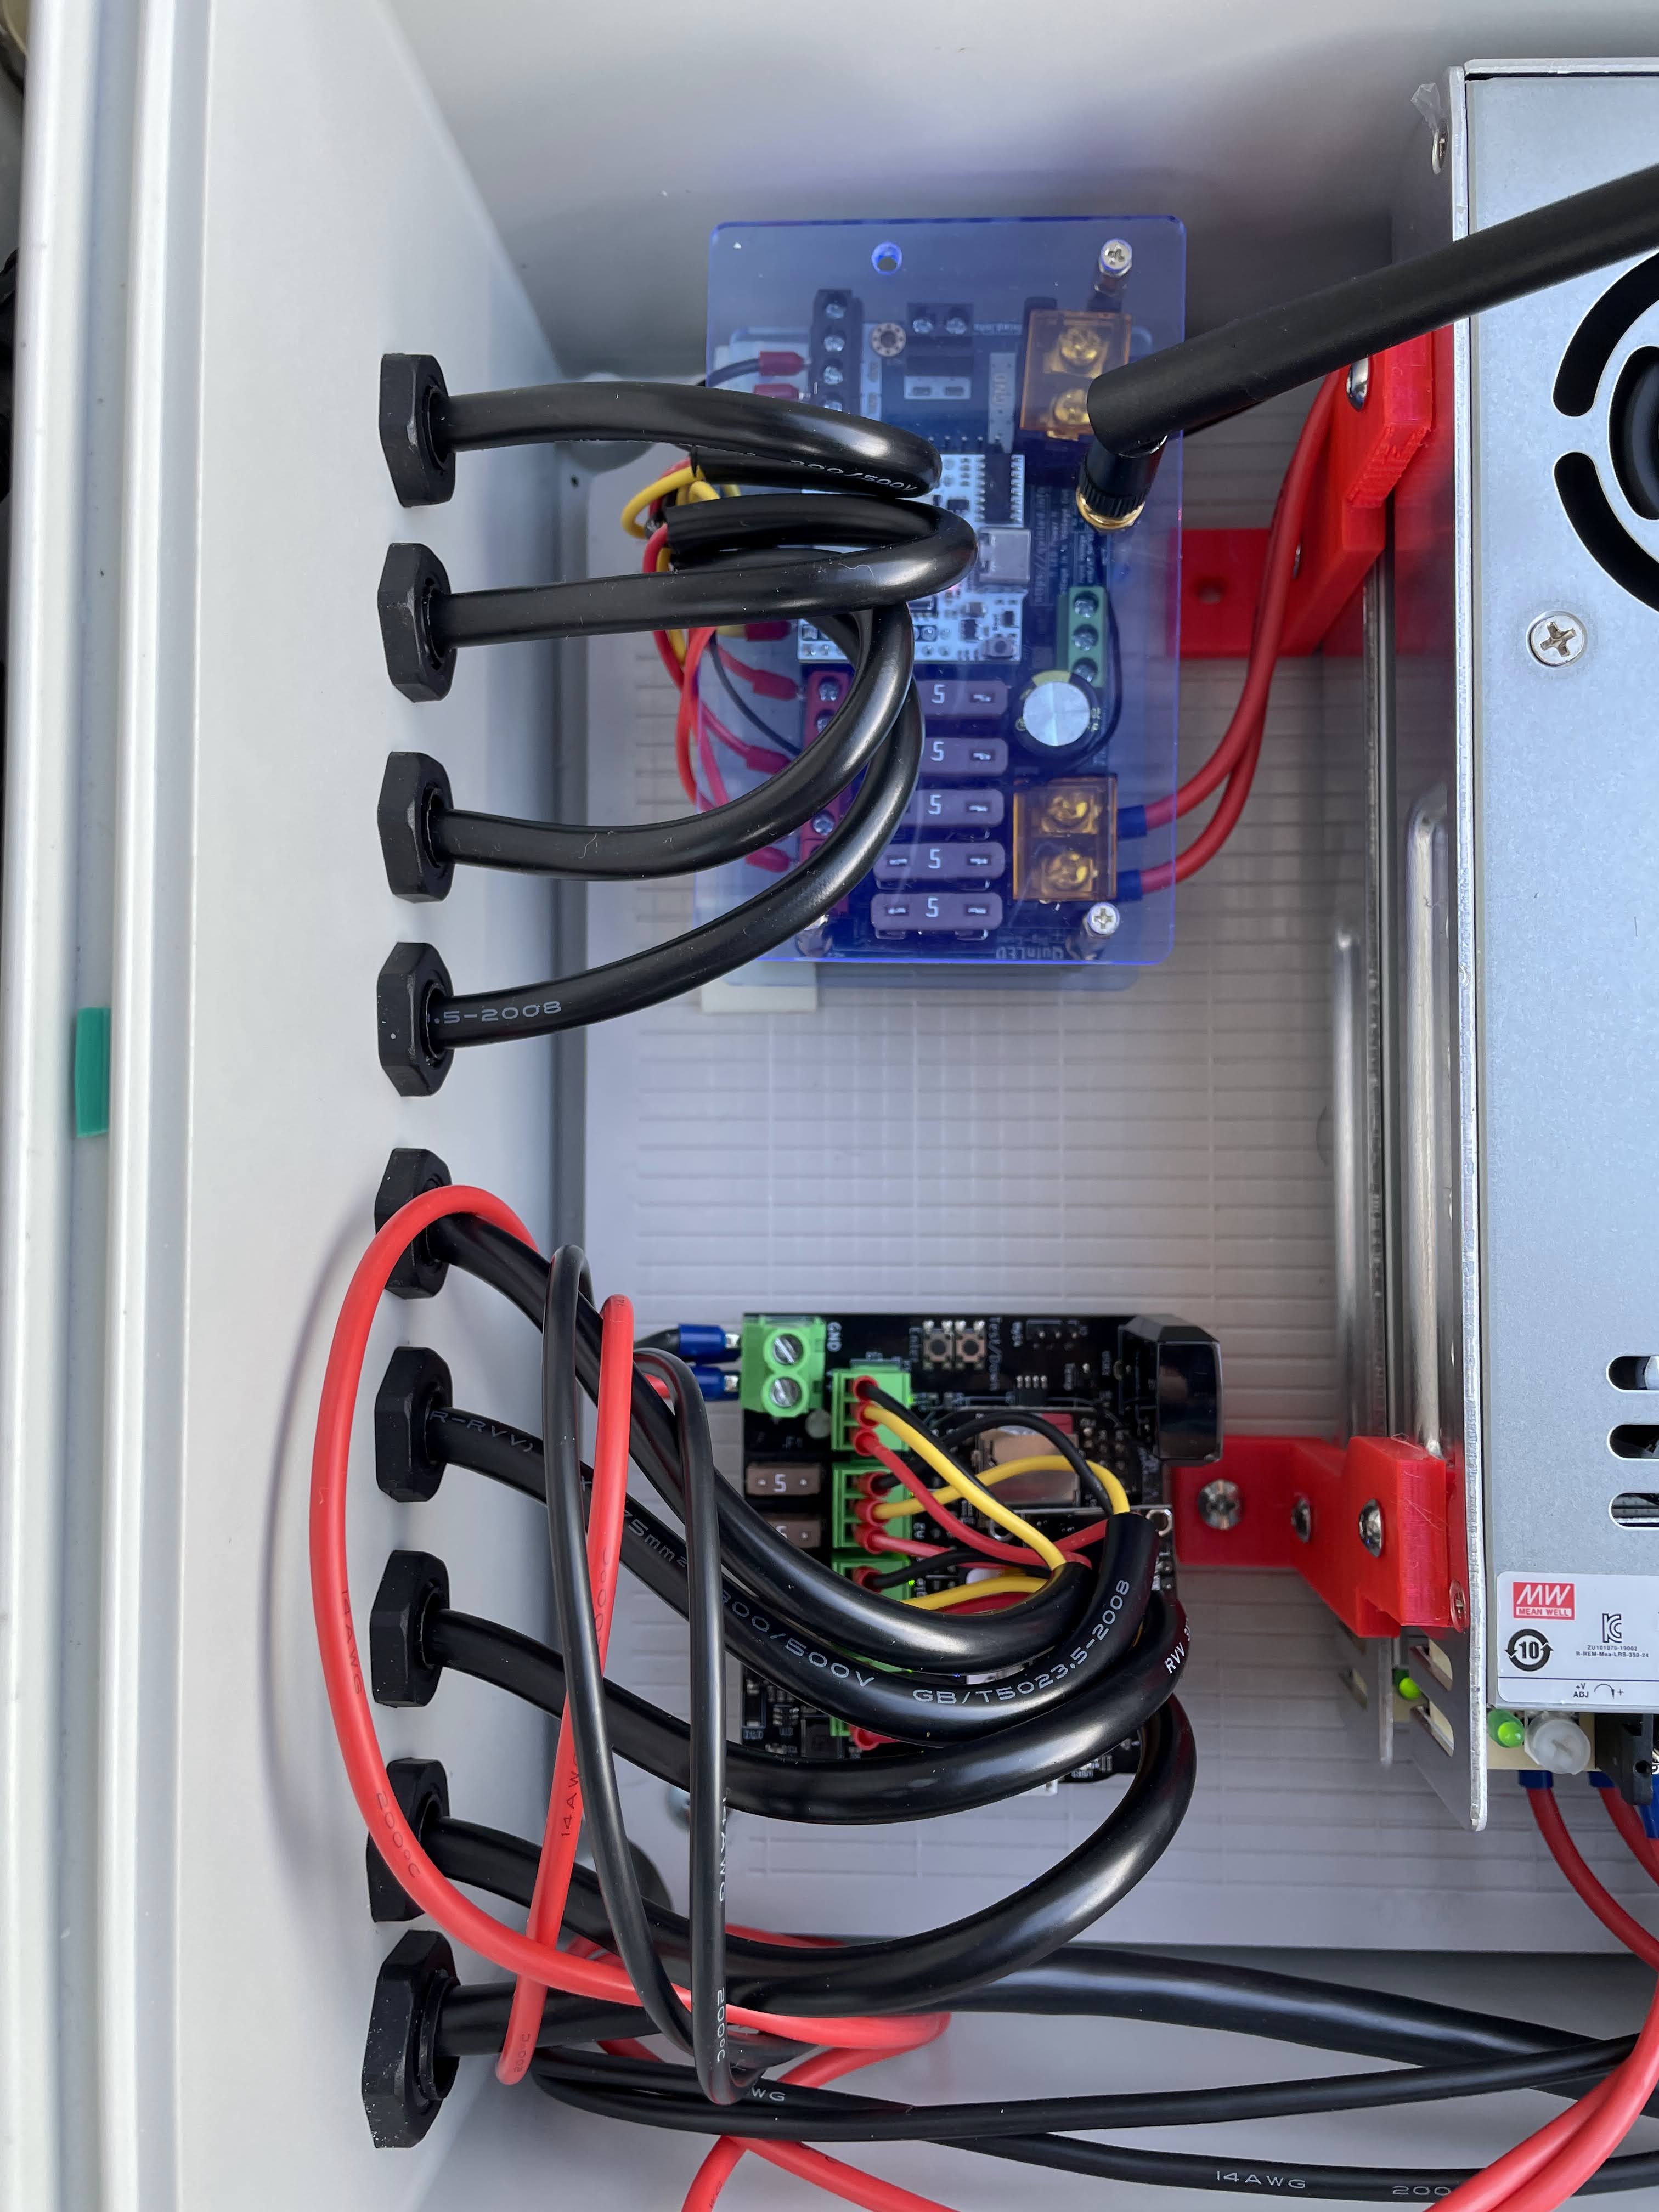
Given my lack of experience with xLights, I decided to play it safe and install the Dig-Quad running WLED and the K4-PB running FPP in the same Bud PTQ-11066-C enclosure. This allows me to use either as a player, and the other for power injection if needed. I 3D printed a staggered mount for the two Mean Well LRS-350 PSU’s, mounted the controller boards to the backing plate using PCB spacers with sticky feet, and double runs of 14AWG silicon wire from the PSU to the controllers. The enclosure is watertight and lives outside on the balcony, it is cold enough to not be an issue, but in the long run it should get some kind of ventilation.

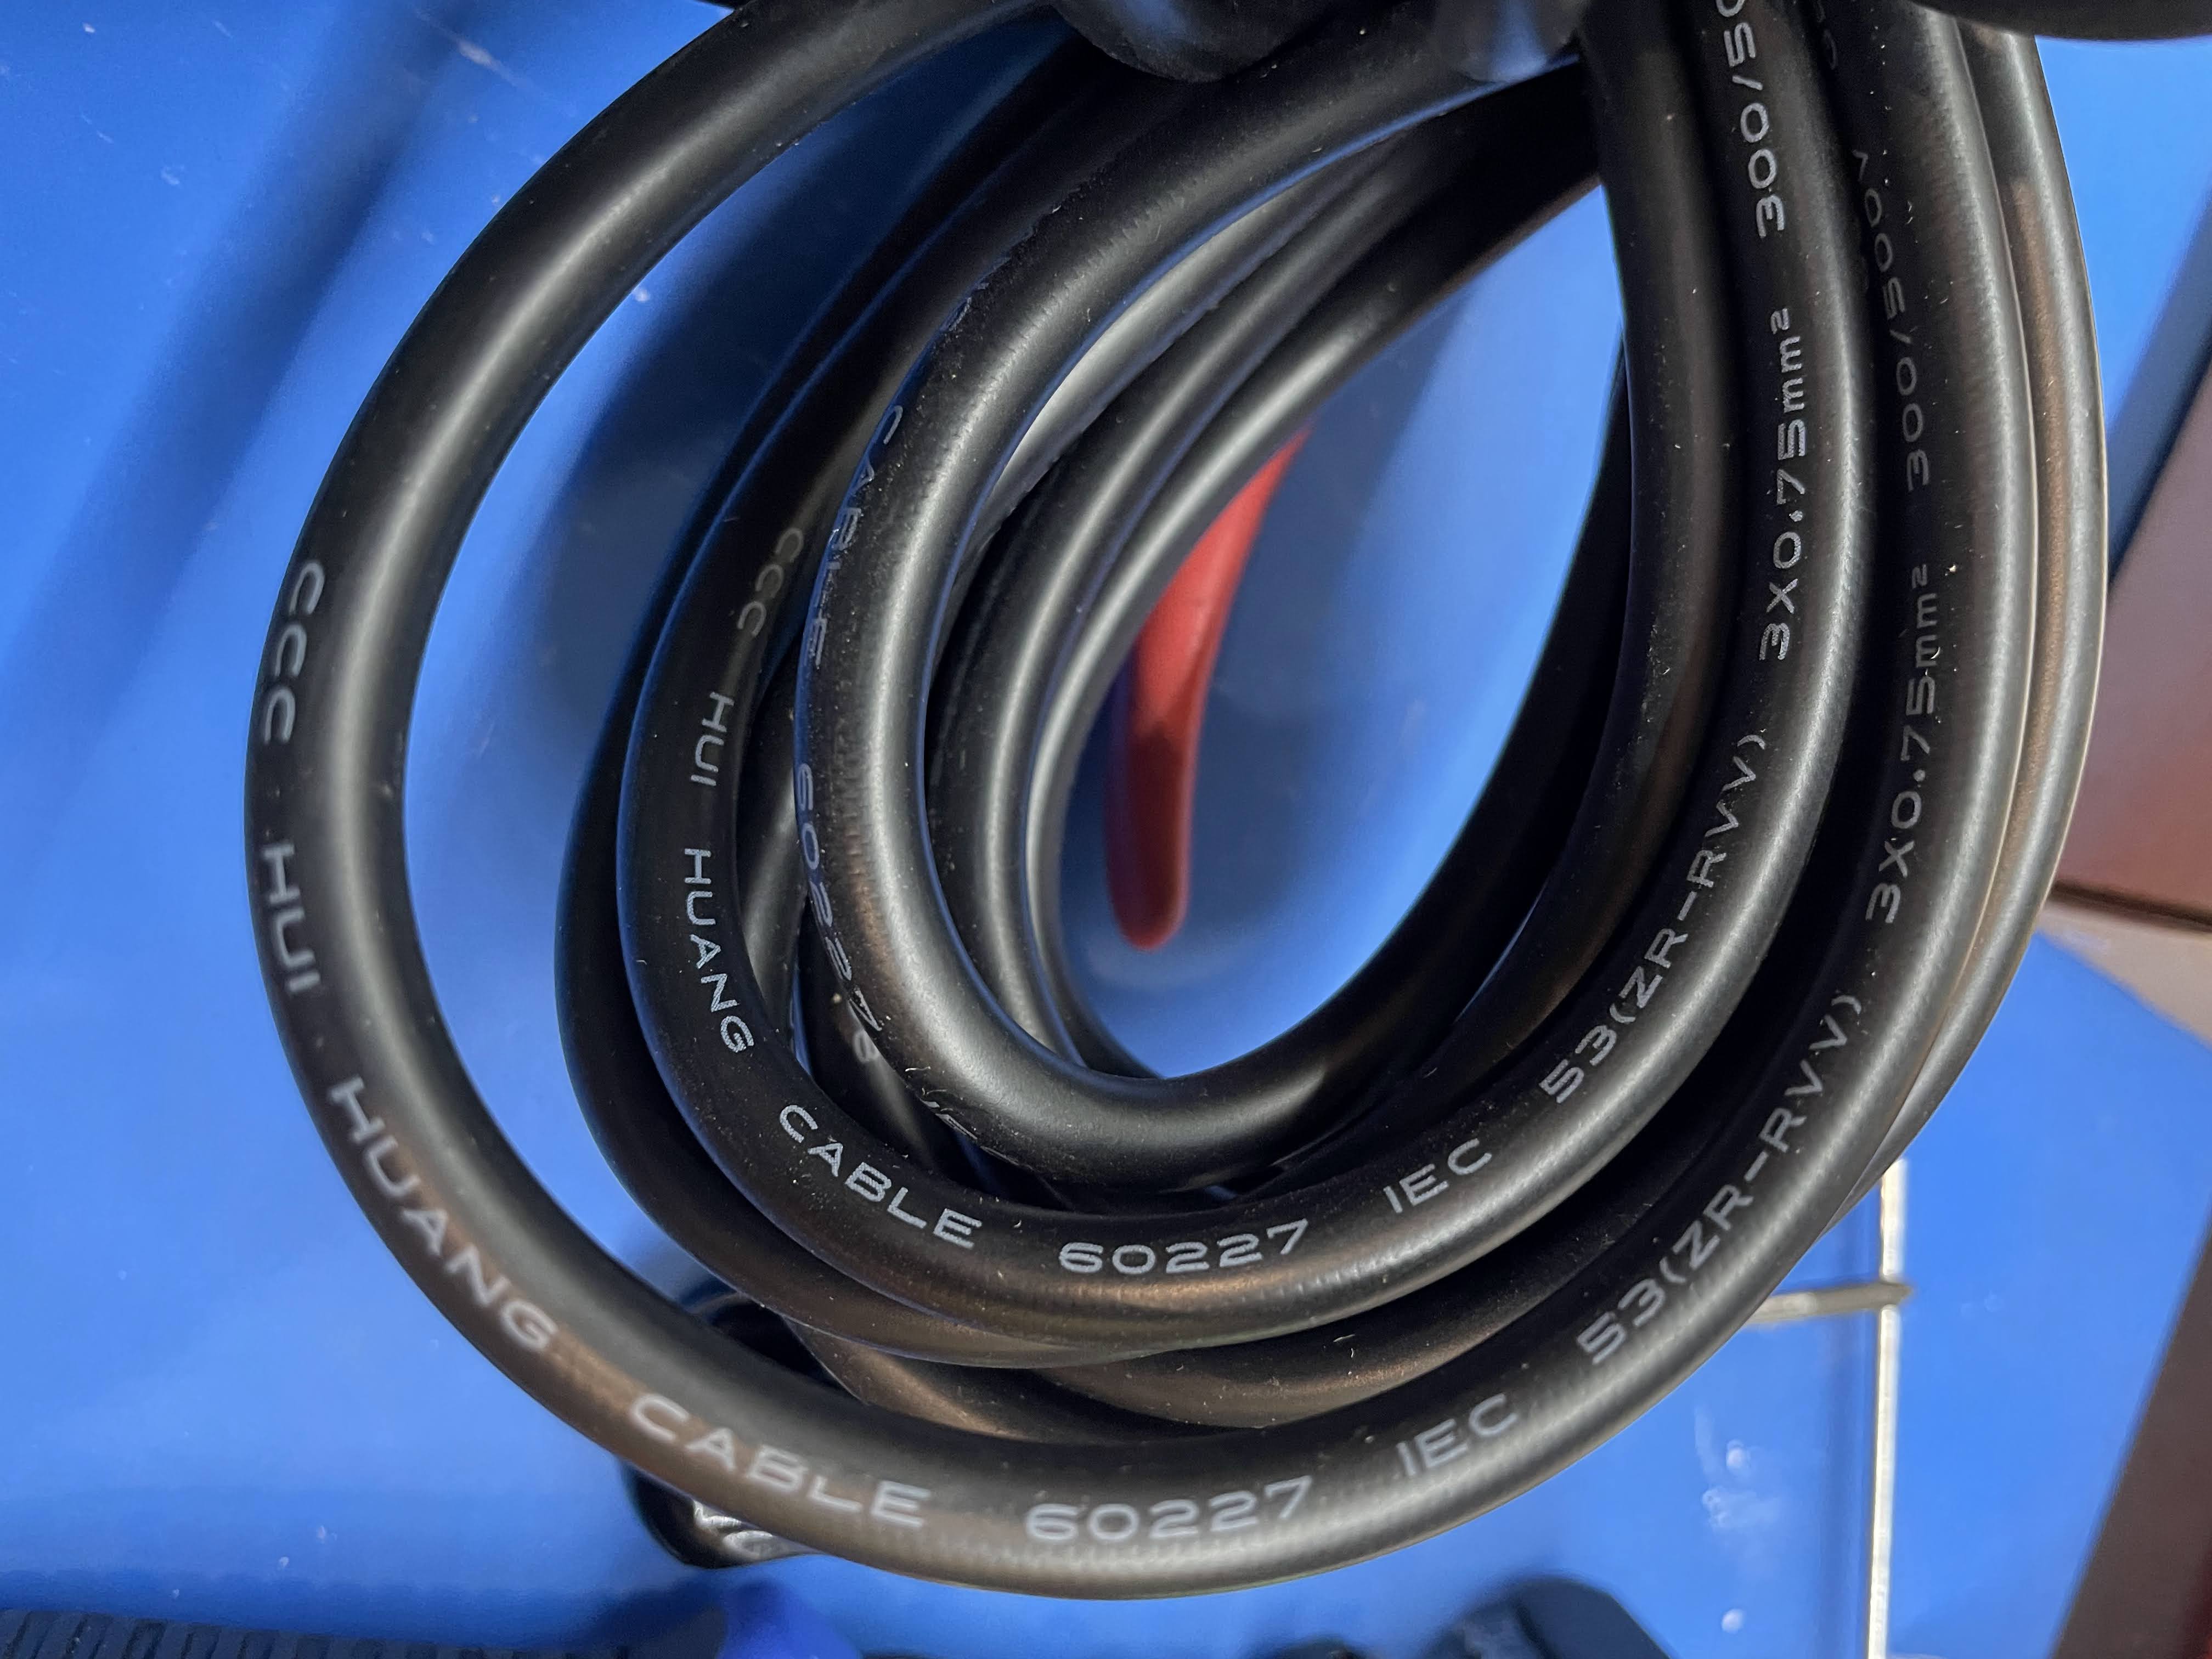
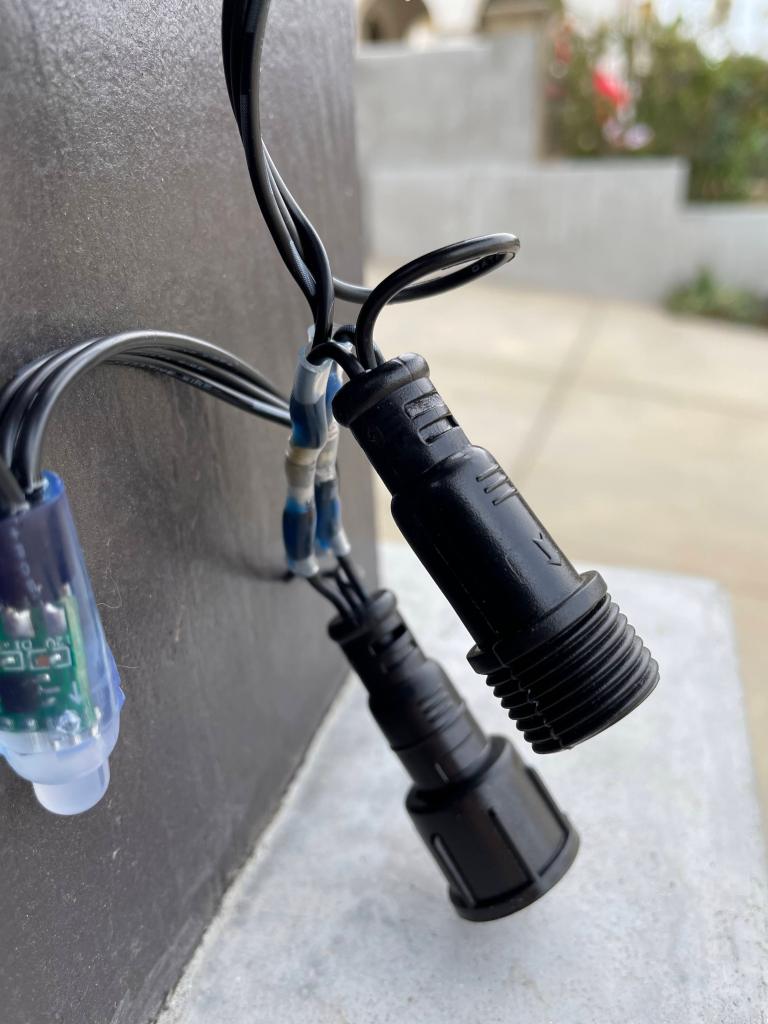
One of my biggest frustrations in this process was dealing with sub-par cables and connectors. Between all the different proprietary plugs, they are all injection molded, slightly crooked, not field serviceable, there are no panel mount options, just male and female pigtails. Then there is the wire gauge, advertised as 18AWG 0.75mm² RVV cable, not even close, more like 20AWG, not good enough for modest powered runs. Even a true 0.75mm² is closer to 19AWG, while true 18AWG is 0.824mm². I did not have a good way to measure the thinness of the wire, but it is easy to feel when I strip and finger-roll the wire before installing ferrules. It is also easy to see when a supposedly 18AWG wire fits loosely in a 20AWG ferrule.
I must have ordered near twenty different types of cables; 18/3, 16/3, 14/2, speaker wire, tray cable, extension cord, RVV, ZR-RVV, SOOW, SJOOW, SJTW, etc. Mostly too thick, too thin, too stiff, too uneven, too fragile, etc. One of the samples I ordered was 18/3 SJOOW cable, and that looked promising. I found a 250′ roll of Southwire 18/3 SJOOW, and a 150′ roll of Southwire 14/2 SJOOW cable at my local Home Depot. The 18/3 and 14/2 has about the same outer diameter, and works well when using the 18/3 for power and signal, and 14/2 for power injection.
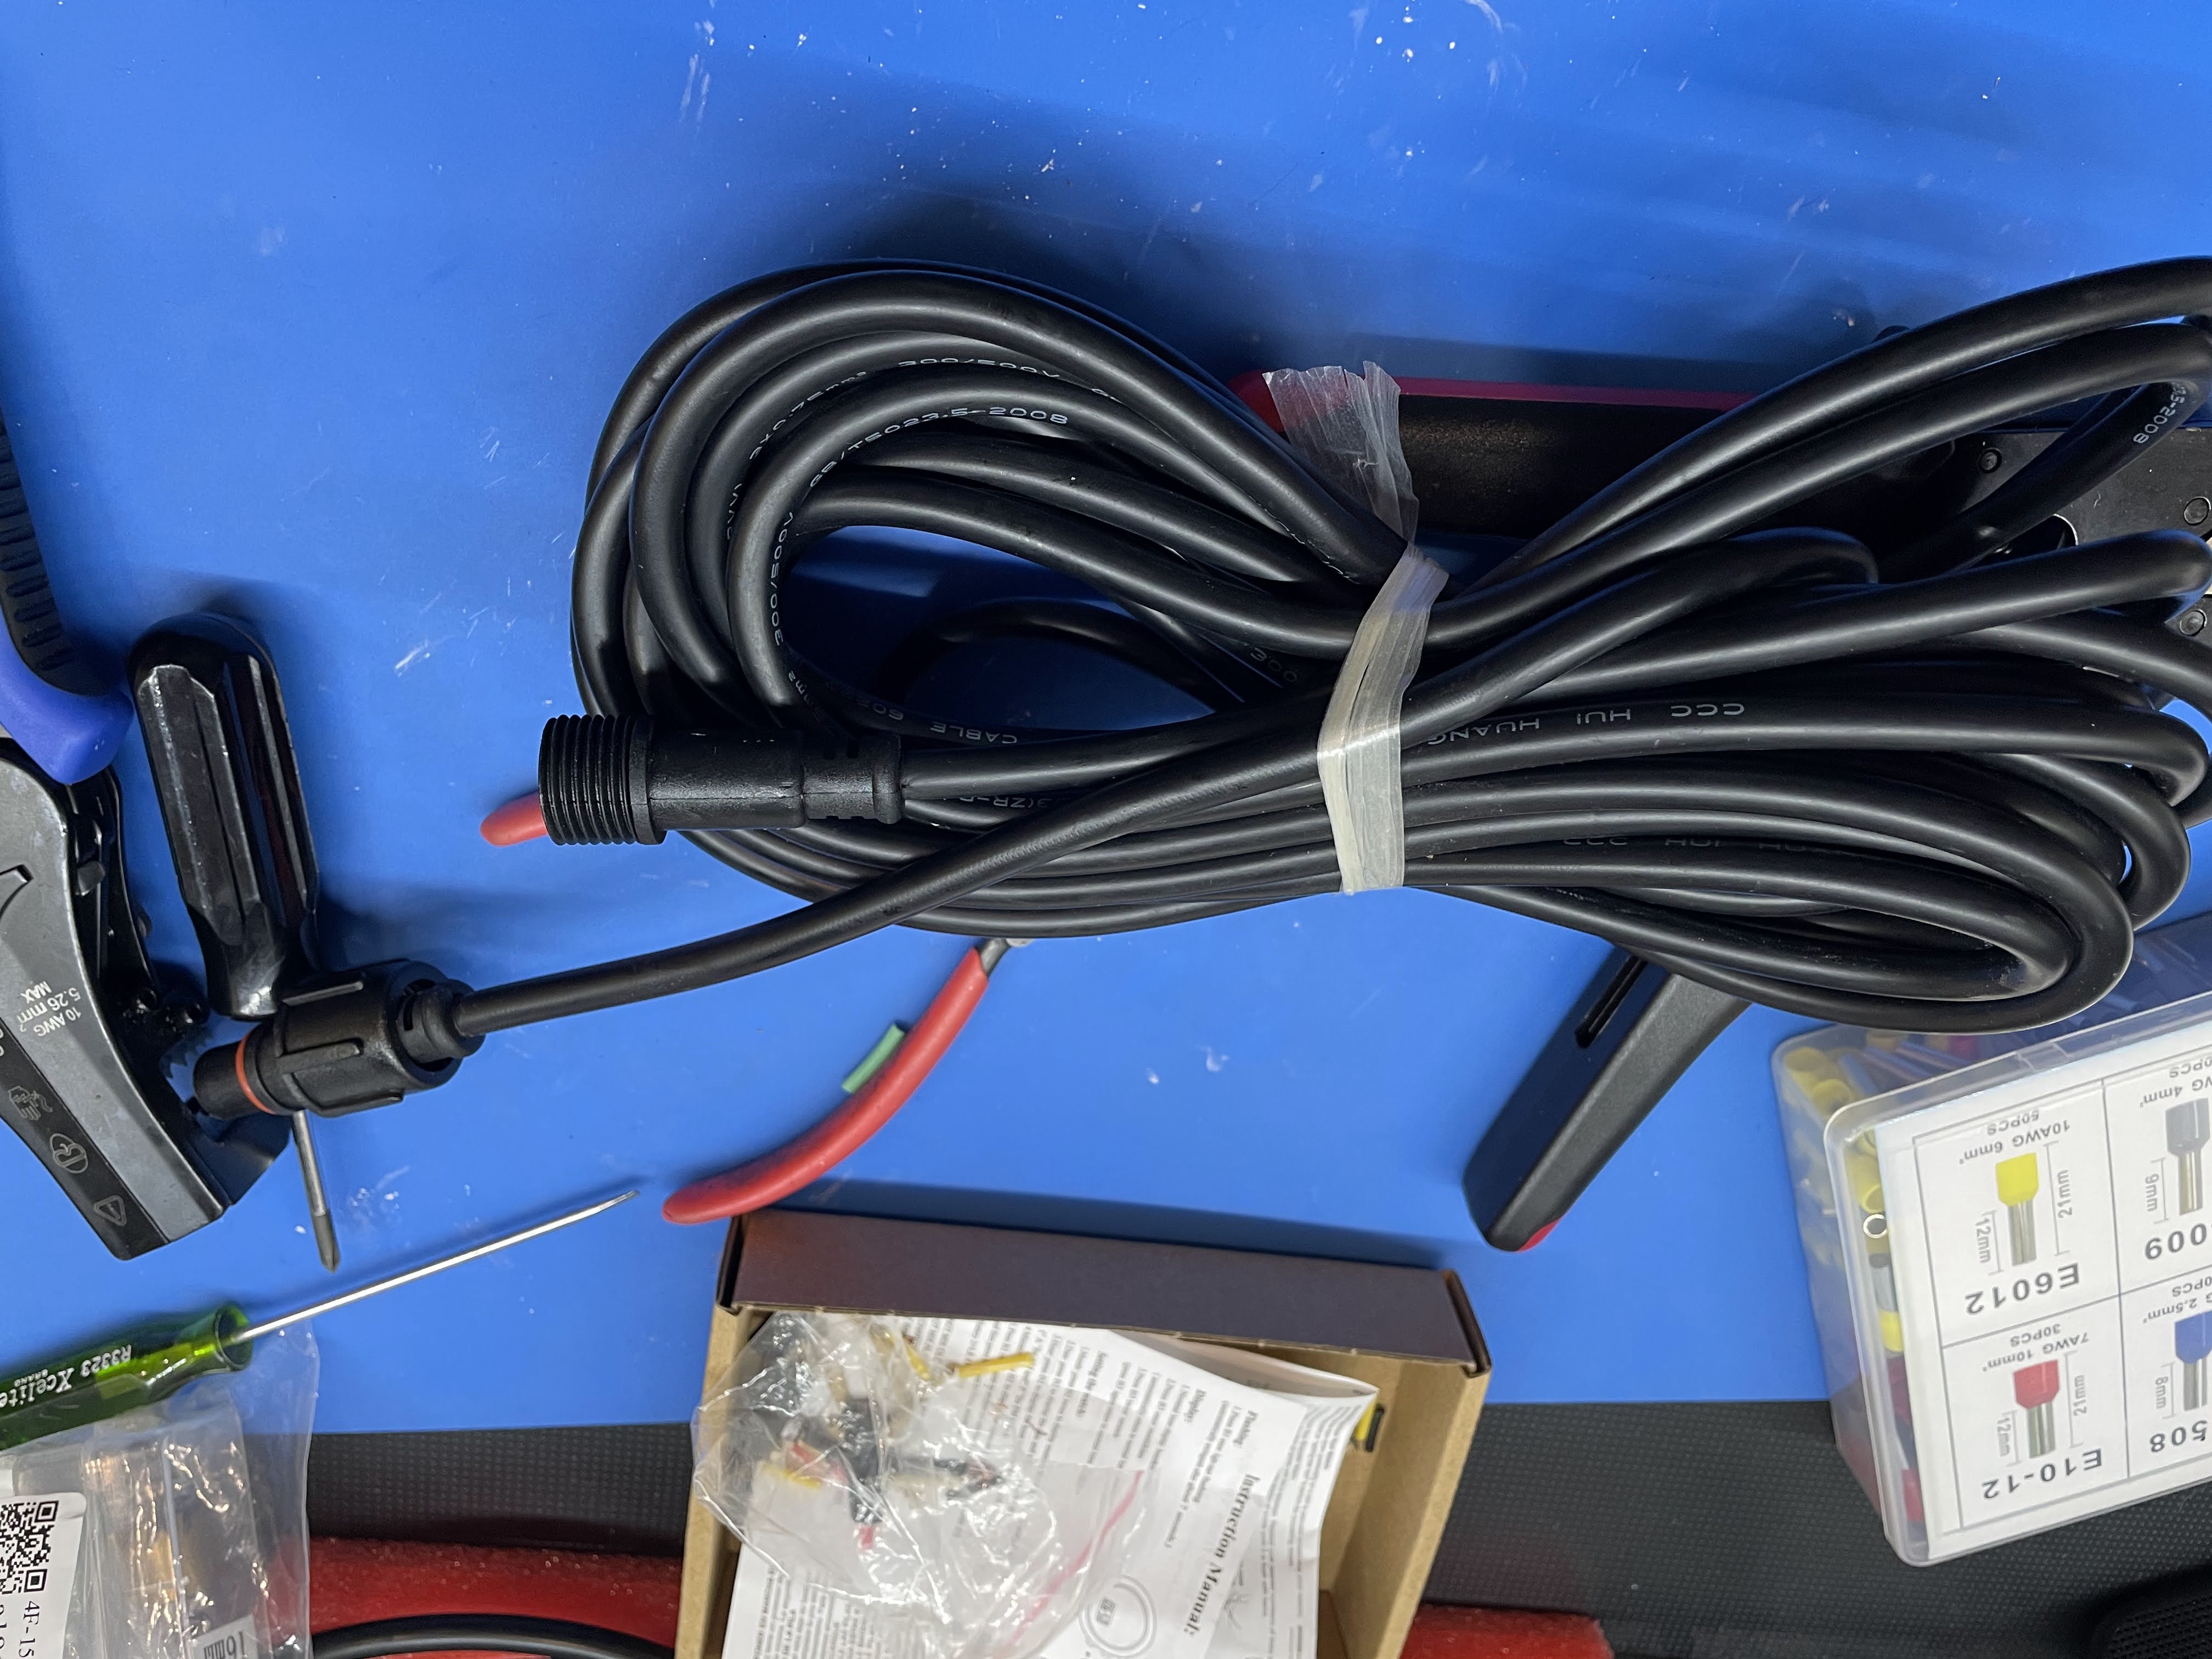
To minimize the impact of the thin wire used by the pigtails, I cut them as short as possible and then splice in the 18/3 cable using waterproof connectors. It is time consuming, and it would be much easier if the actual plugs were high current capable and field-serviceable (screw, crimp, solder).
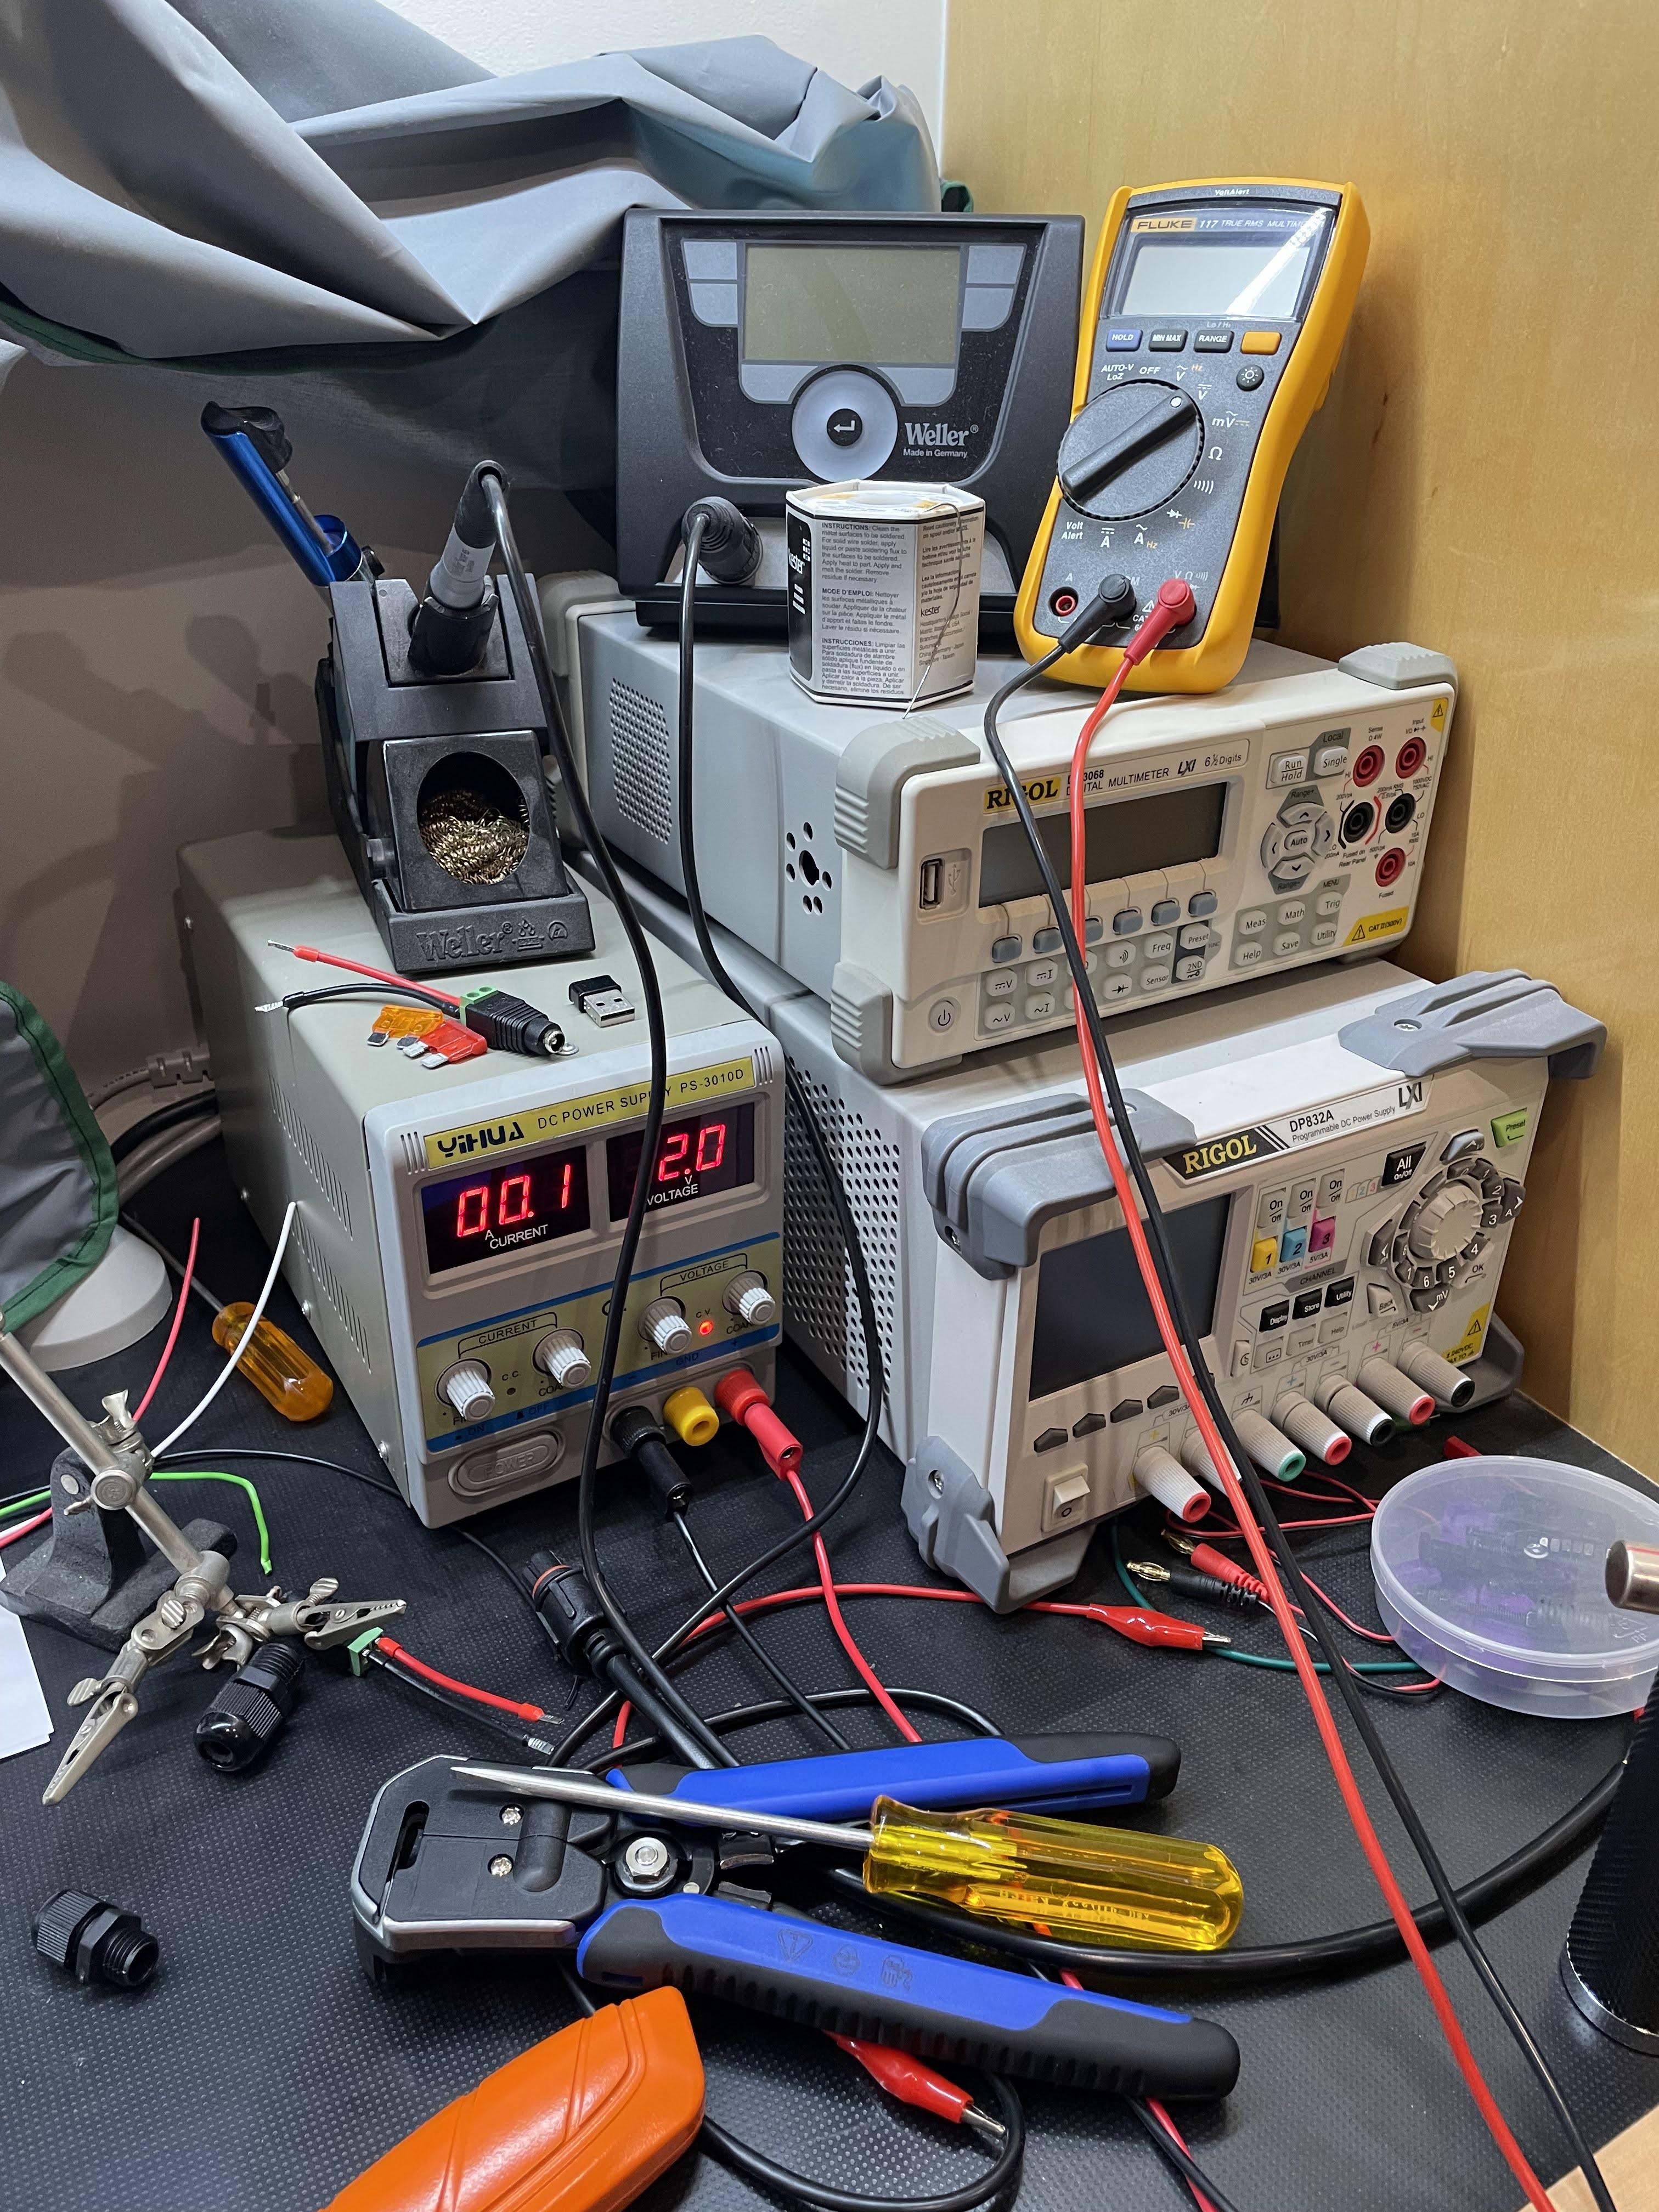
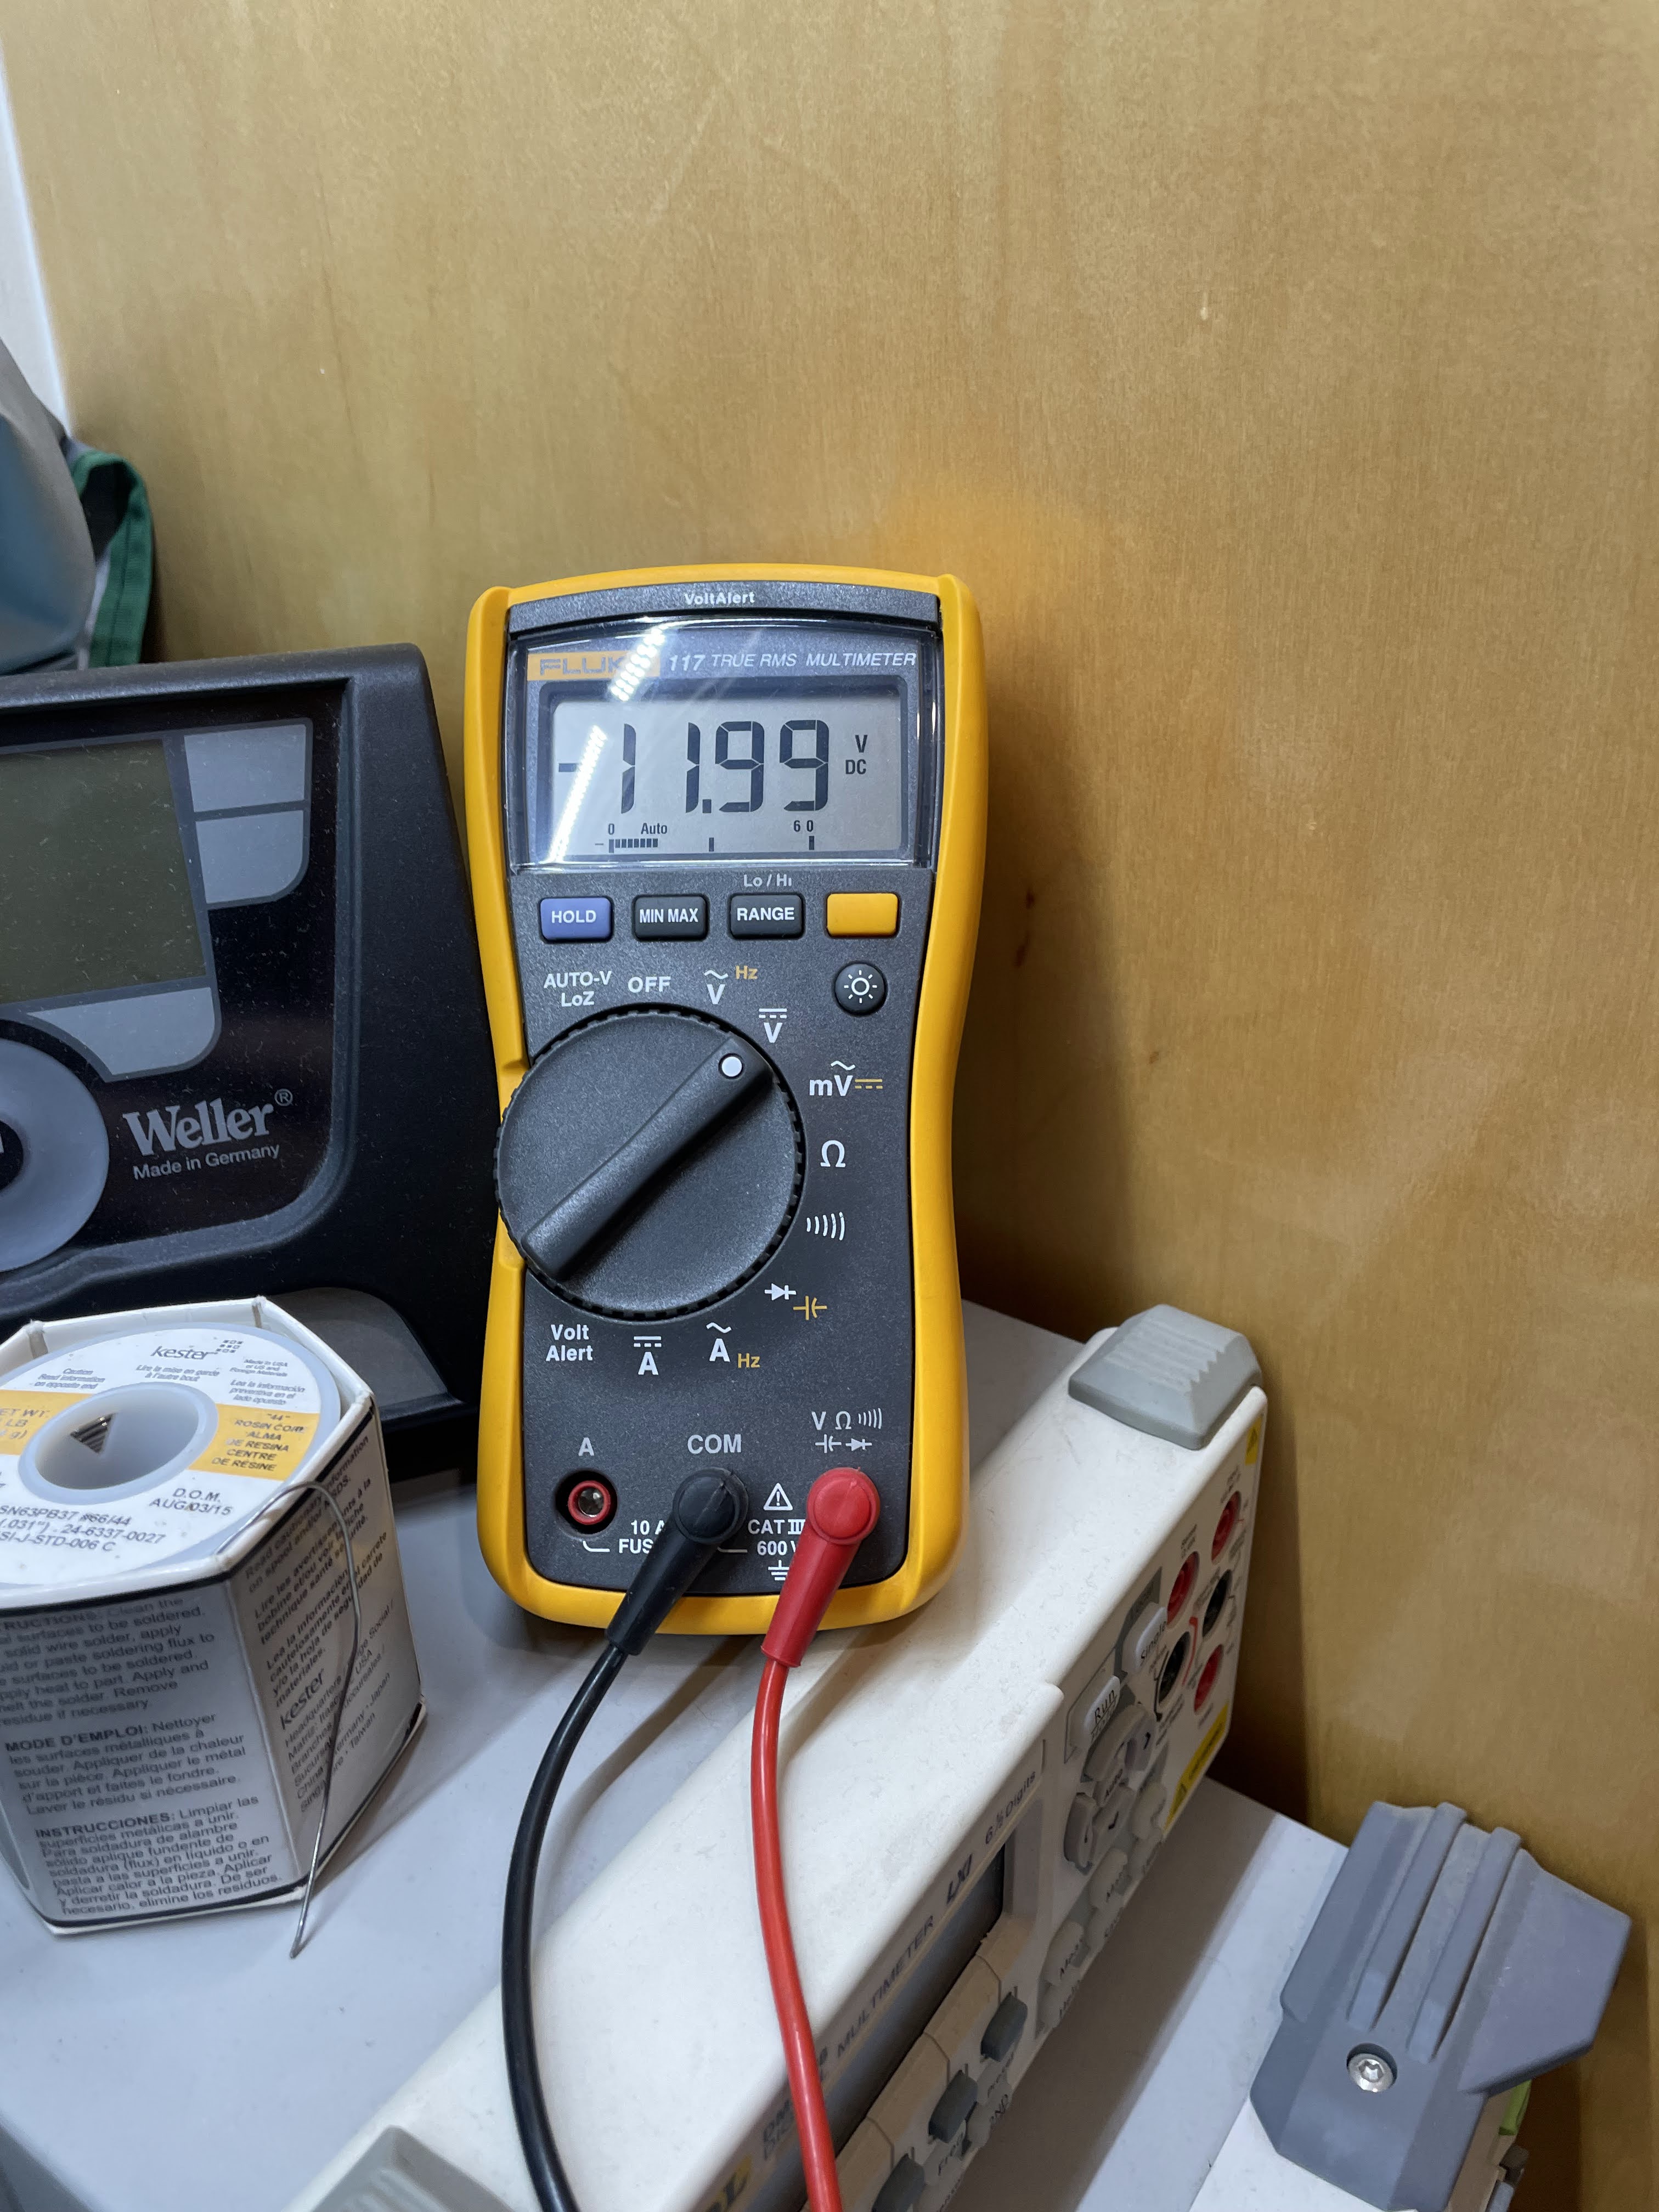
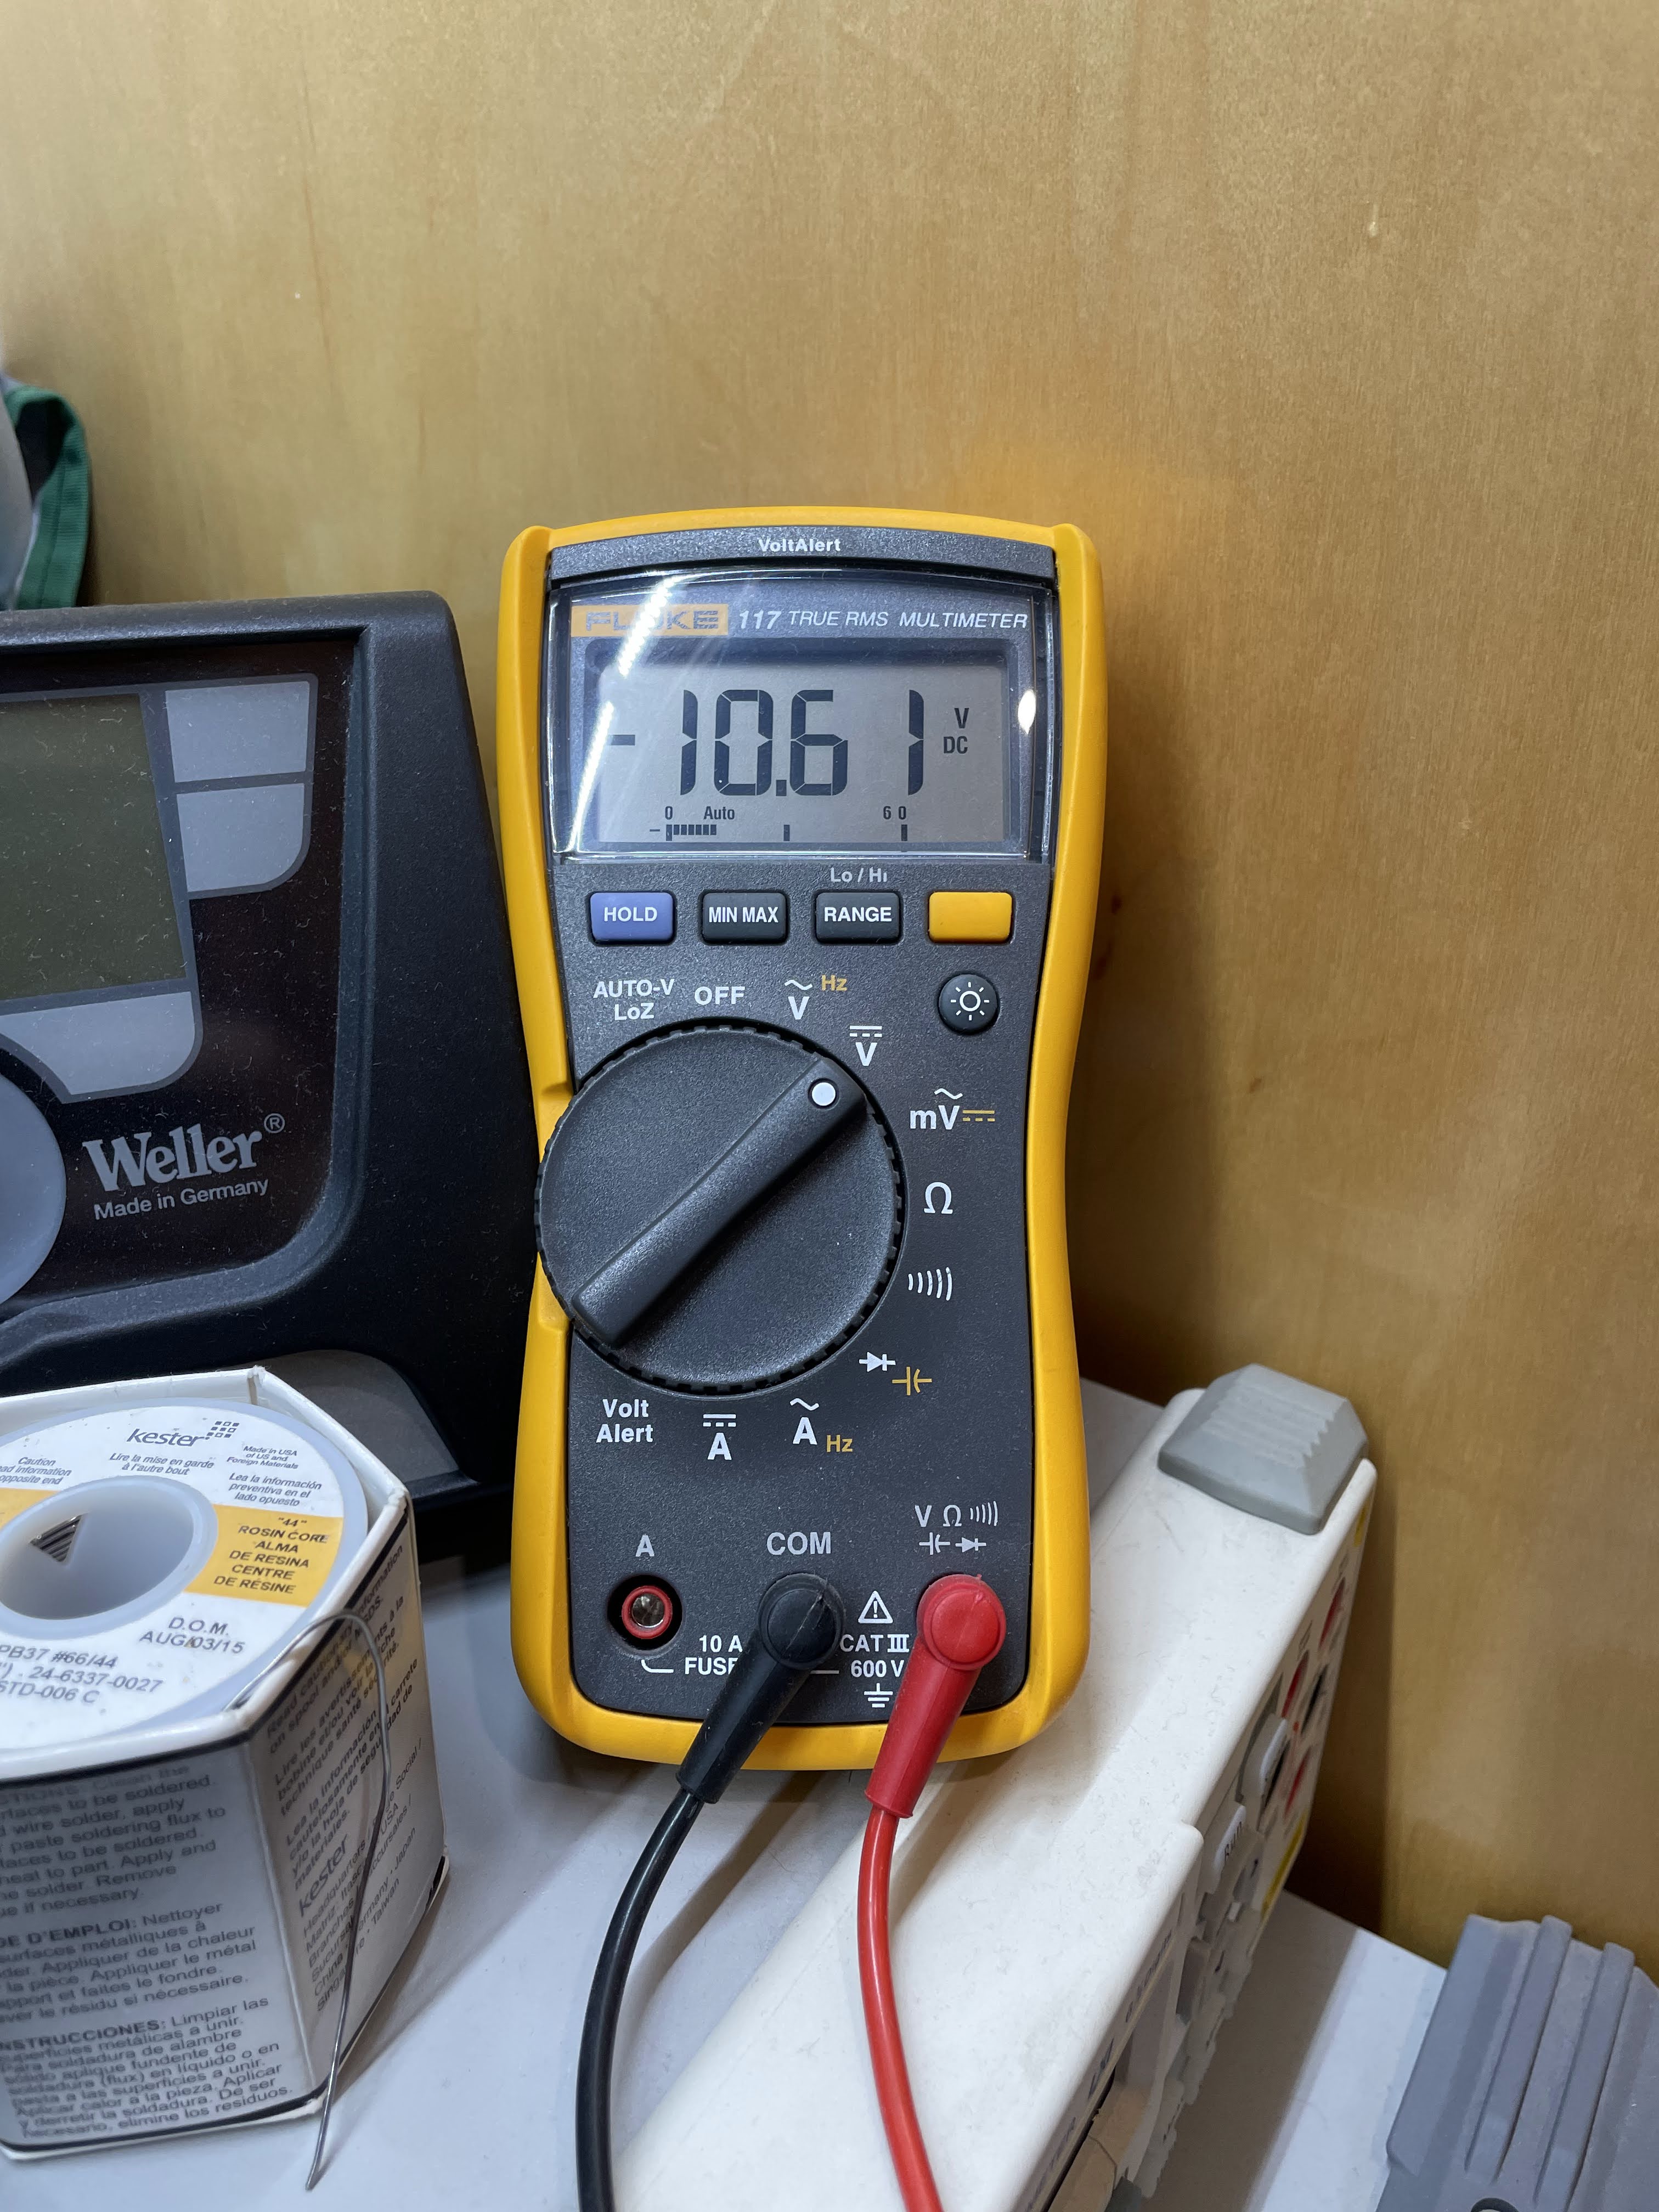
To demonstrate the difference between RVV and SJOOW cable, I ran a strand of 105 icicles at full white, drawing about 5A. Just the icicles with 12.0V input and 10.61V out at the end of the strand. With a 20′ SJOOW cable in the run before the icicles 9.06V at the end of the strand. With a 20′ RVV xConnect extension cable from a reputable store, the lights failed to stay on and would flicker on and off. I was hoping to measure the voltage drop, but instead they just failed. This is not just a lab test, I installed long runs of RVV cable, and the lights would just fail to update until I added power injection. When I replaced the RVV cable with 18/3 SJOOW, no problems, no need for power injection. I’m obviously not stating that there is no need for power injection, I am running 14/2 + 18/3 for 20’+ runs, but with good cable the need for power injection is greatly reduced.


It is hard to justify $15 for a brand name 300V 20A IP68 UL connector vs. a $2 pigtail, but I did order (arriving in a few weeks) various waterproof circular field-serviceable inline and panel mount connectors to try; some known western brands from US suppliers ($$$), some known Chinese brands from AliExpress brand named stores ($$), and some generic “aviation style” connectors from AliExpress ($). For next time, maybe Halloween, I would like to build a more field-serviceable case, and I think DIN rail mount is the way to go, even if more expensive. I’d also like to be able to power down the LED circuits when not in use, while keeping the controller running, for even when “off” the LED’s still consume and waste power. Maybe a SSR in front of the PSU’s, or a PSU with a power-control input.
It is good to see that the community is trying to address quality issues by voting with their wallets.
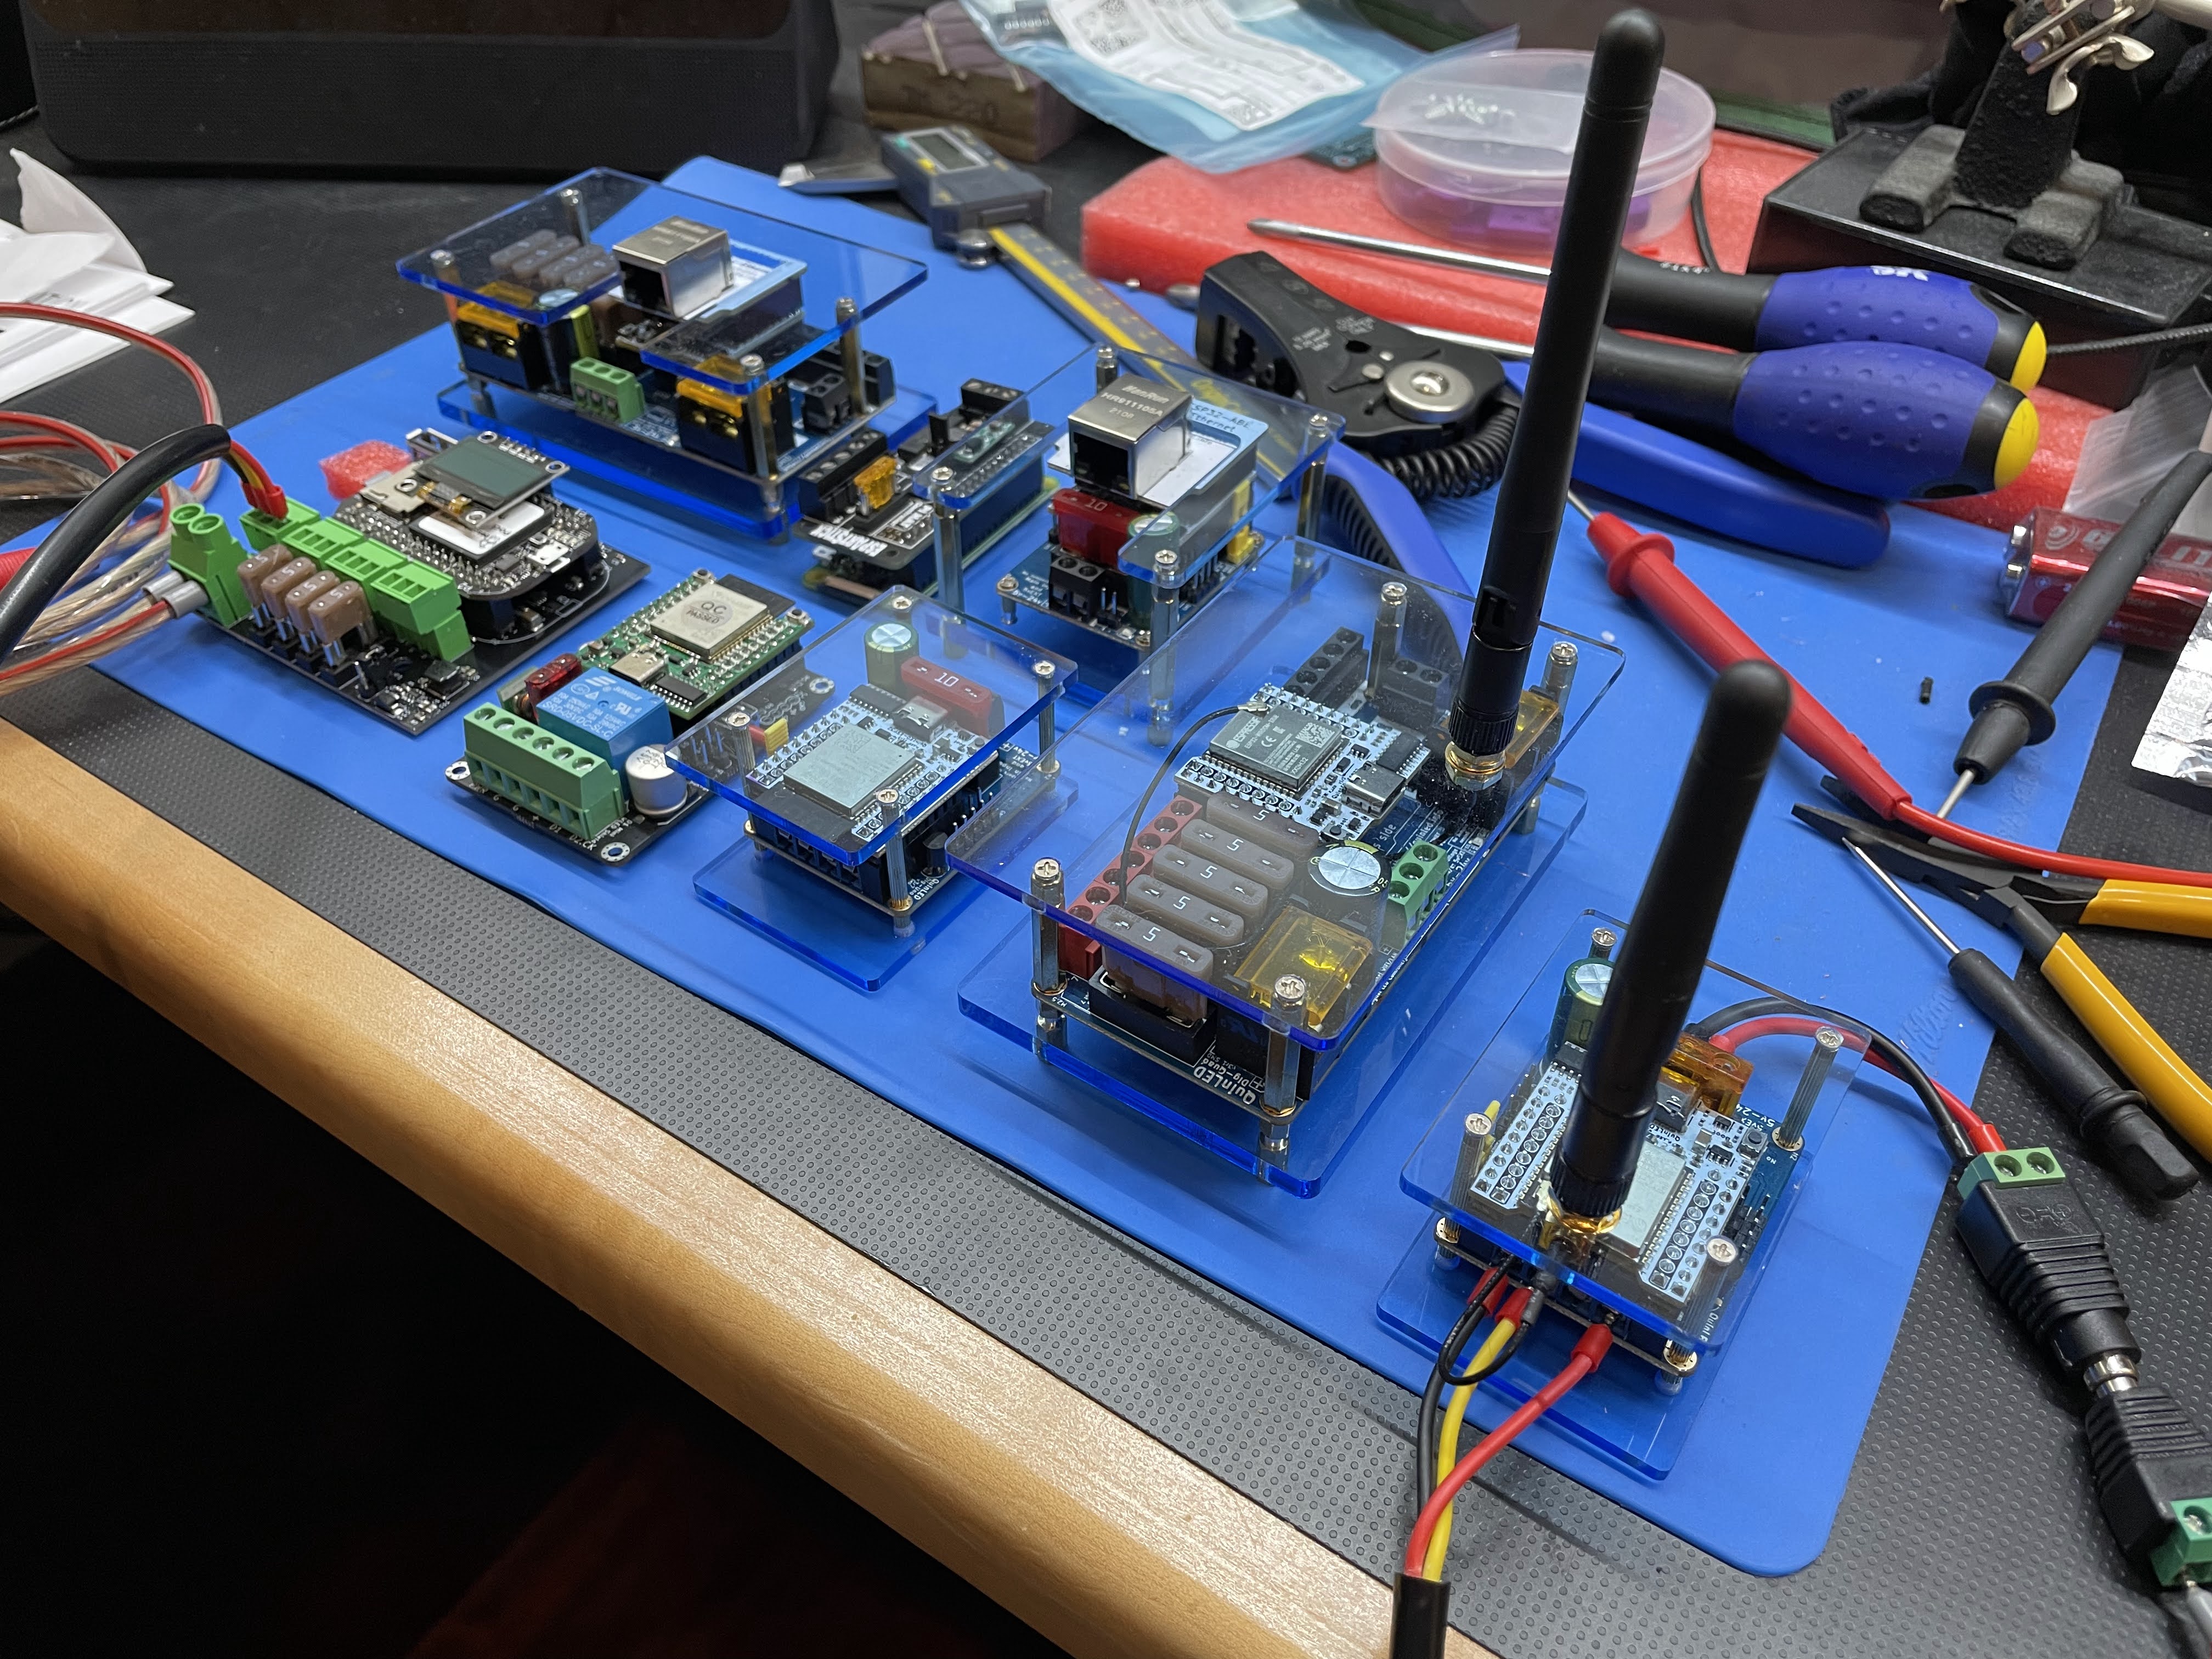
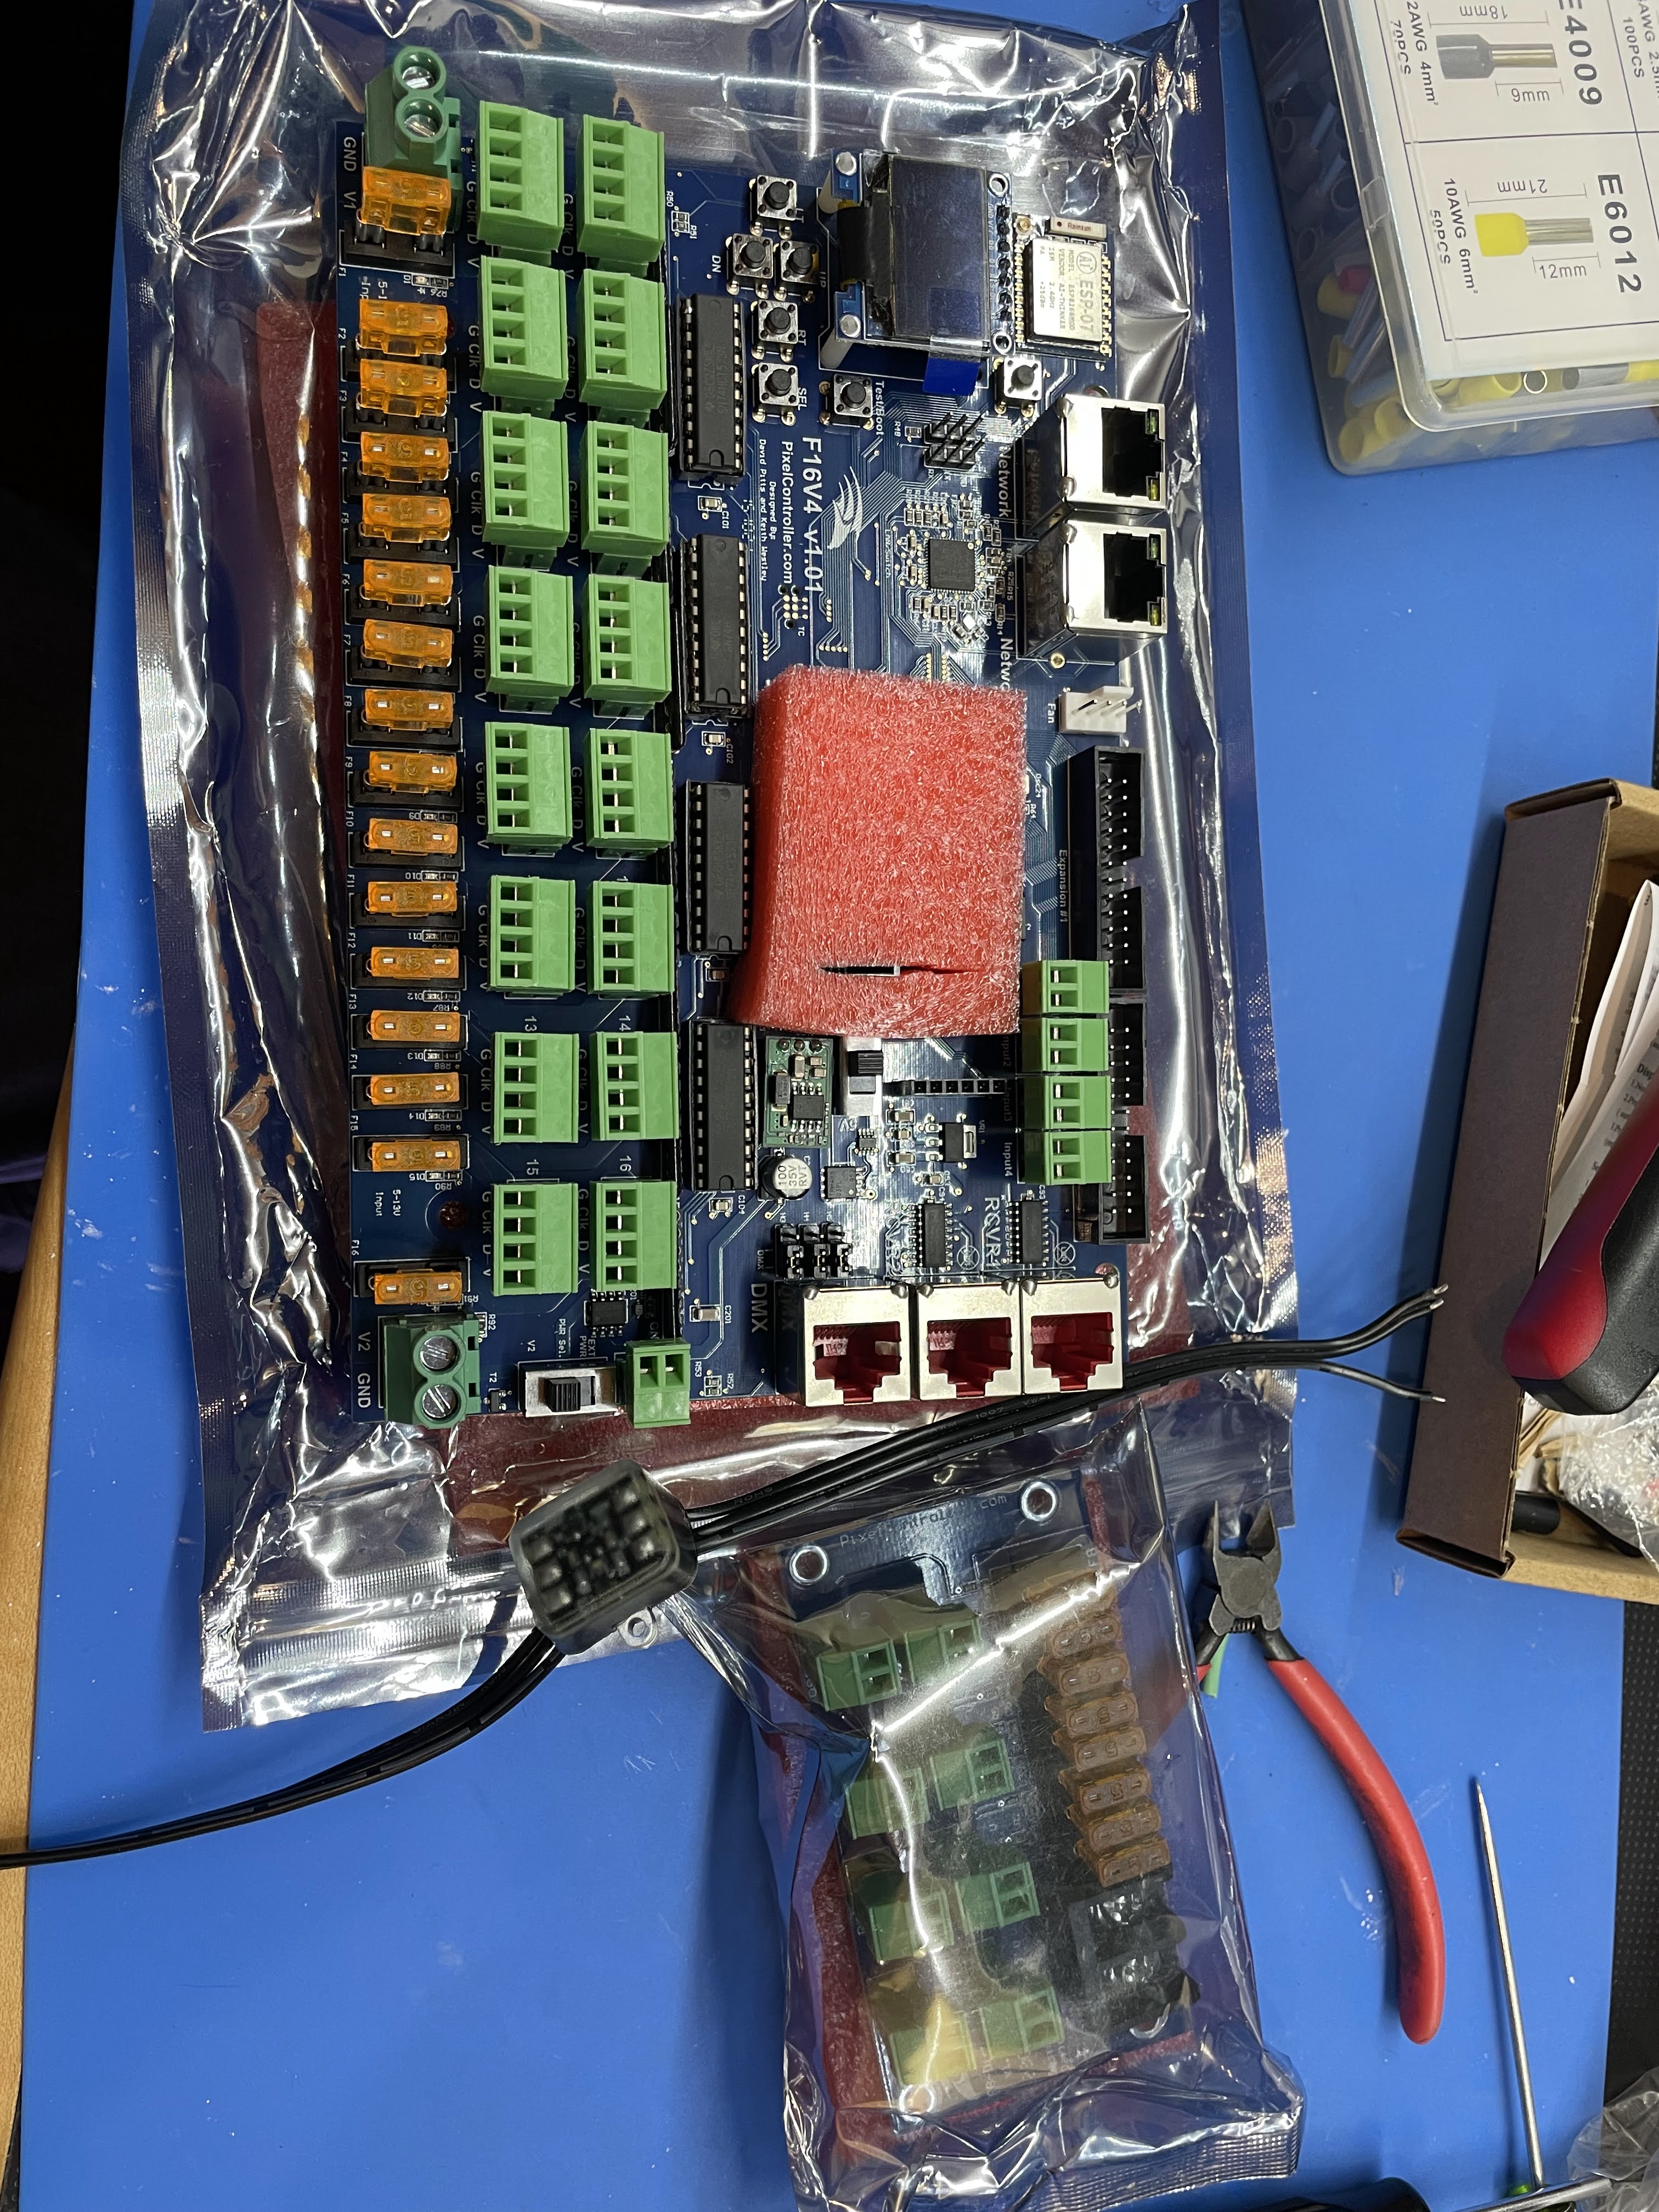
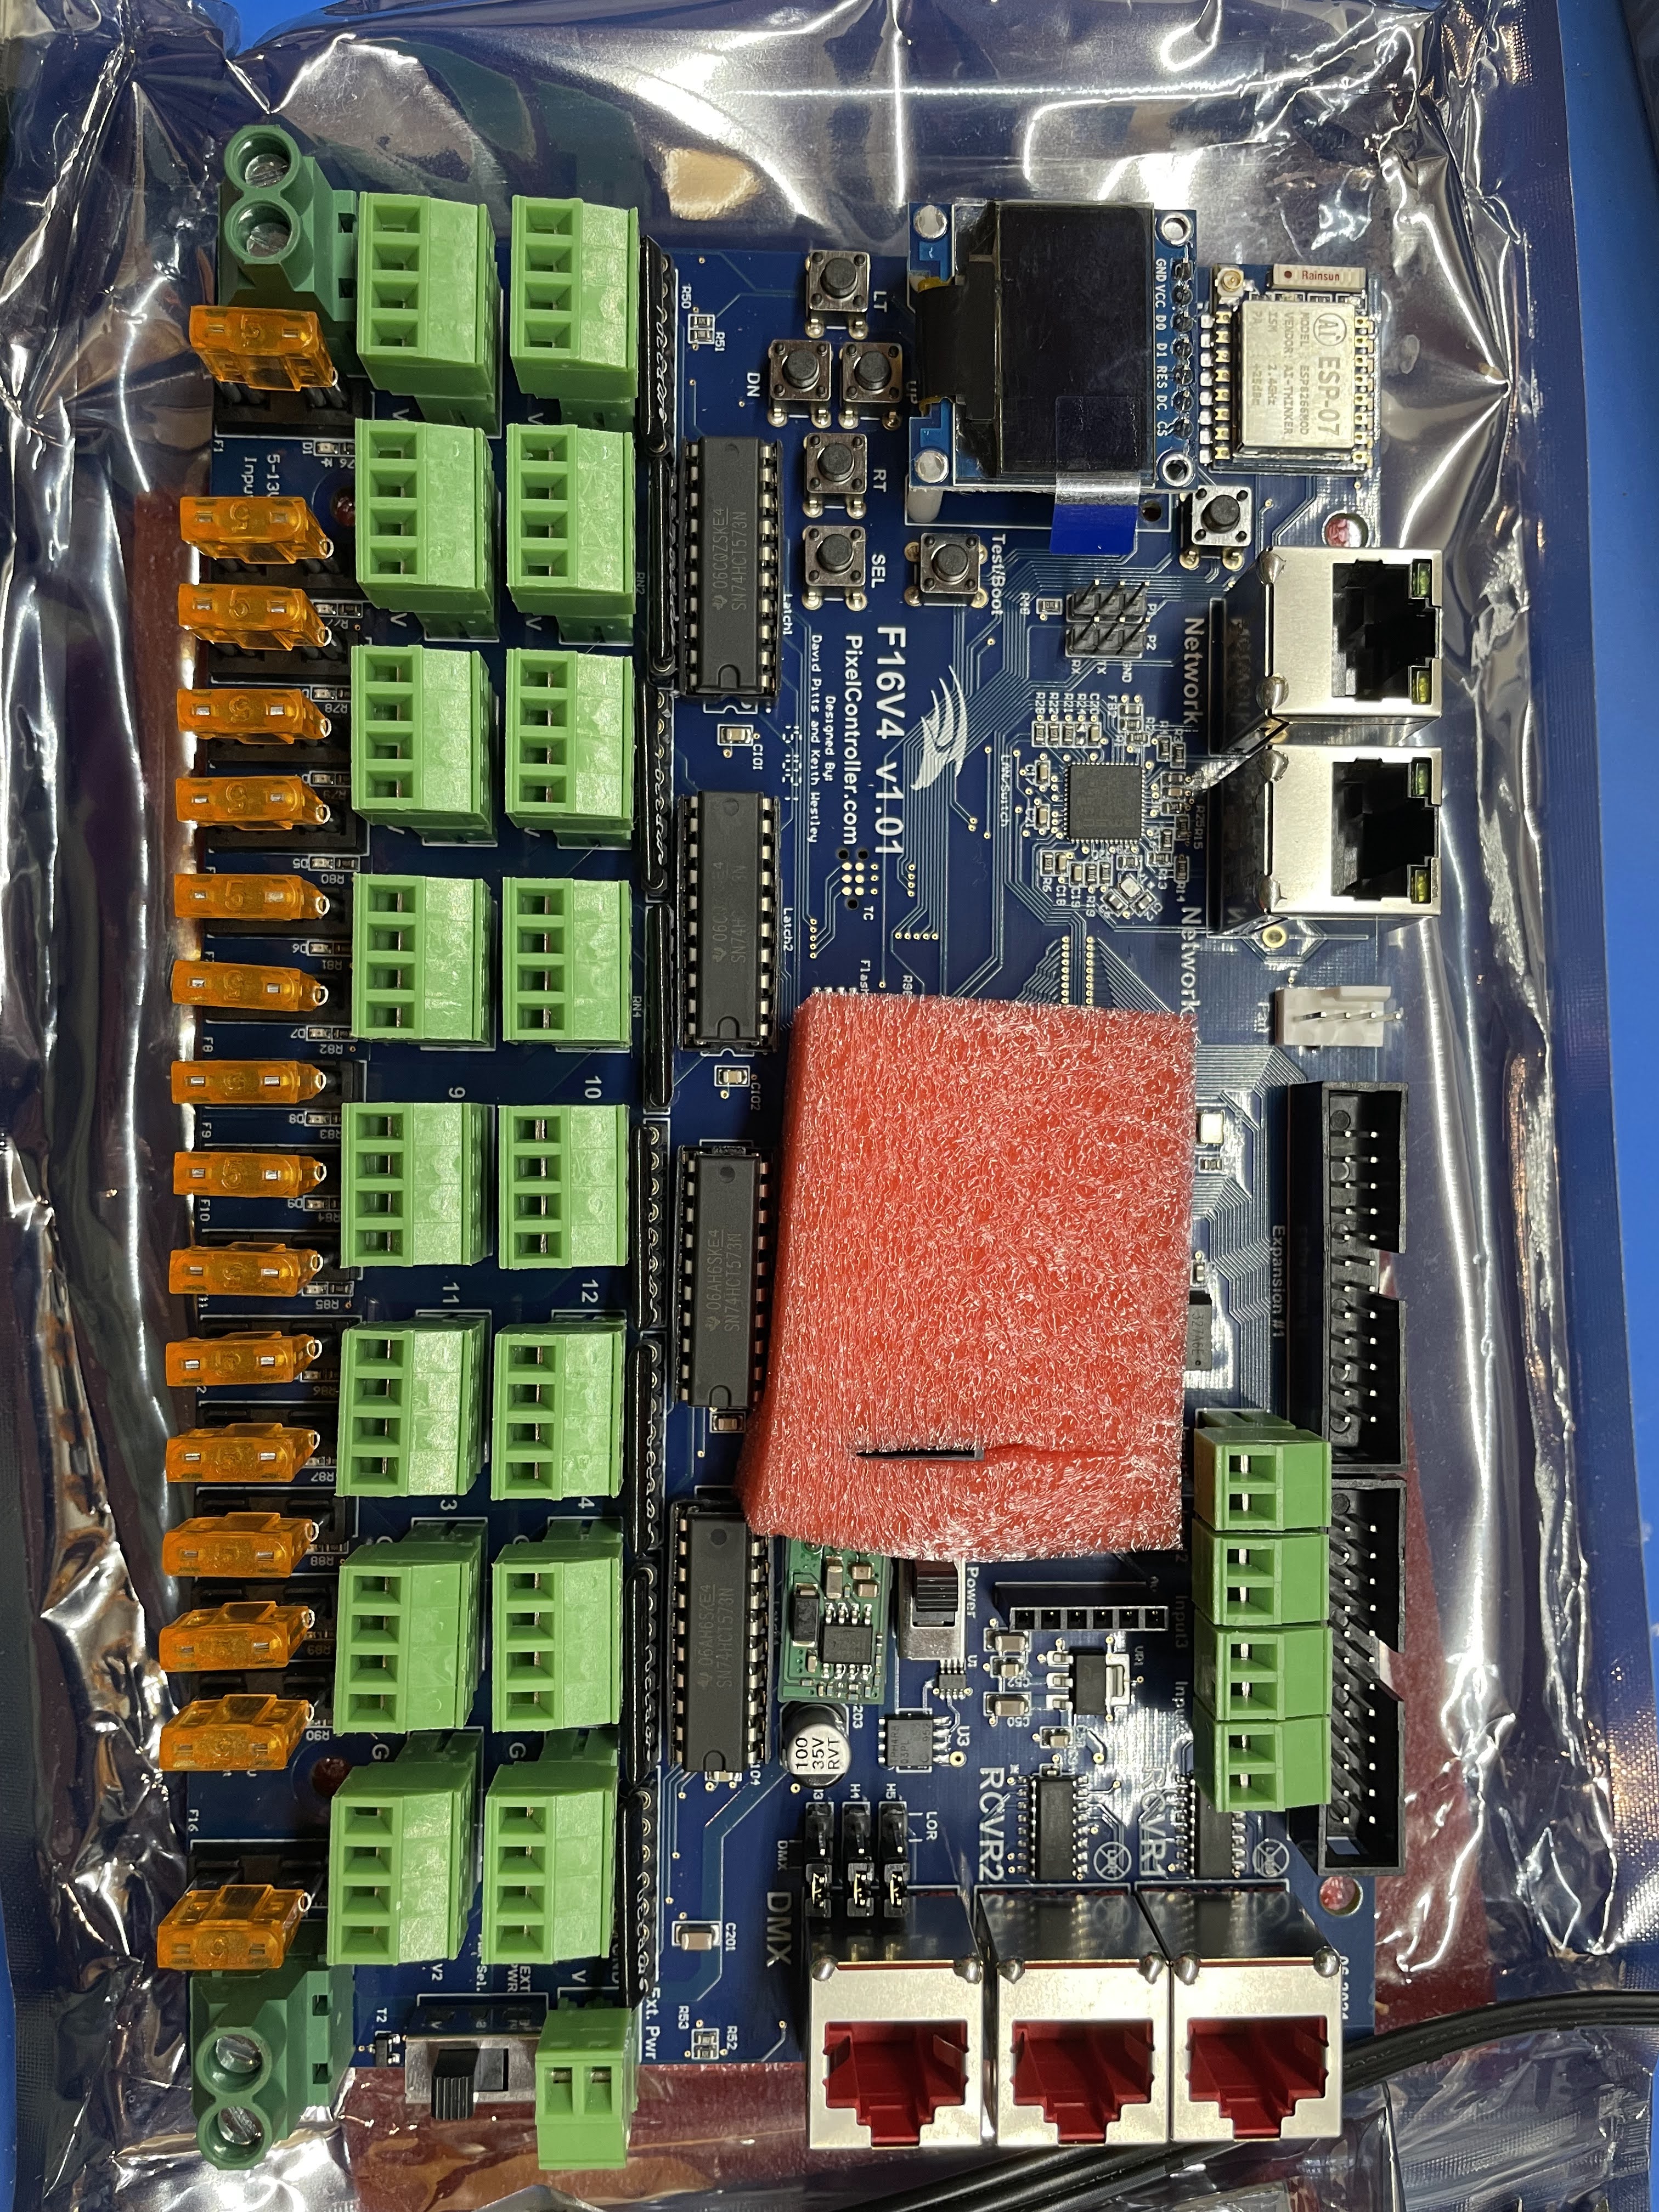
Below is a collection of controllers I accumulated; Dig-Uno, Dig-Quad, ESPArtStick, Wemos Shield, Kulp K4-PB, Falcon F16V4, and a Falcon Smart Receiver. (The F16V4 was on back-order and arrived after I already installed the K4-PB)


A note on the difference and interaction between xLights, FalconPlayer (FPP), Falcon controllers (e.g. F16v4), and Kulp controllers (e.g. K4-PB). It took me a while to wrap my head around this, so it may be useful to the reader. xLights is used to create the layout of lights in 3D, configure the controller to light mapping, and create animation sequences. Falcon and Kulp controllers drive the LED’s using e.g. WS2811 protocol. FPP is the open source sequence player and scheduler software. From xLights a rendered sequence is uploaded to FPP. FPP plays the sequence to Falcon or Kulp controllers over ethernet connections using E1.31 network protocol. FPP can be installed on a RaspberryPi or a BeagleBone. Kulp controllers are BeagleBone capes, so a Kulp controller also runs FPP, no need for a separate FPP player when using a Kulp controller. Falcon controllers run proprietary software, and a separate FPP player connected over ethernet is required to drive the Falcon controller. Due to the latency requirements playback over WiFi is “discouraged”. Typically a Falcon controller would be connected over ethernet to a Pi or BB running FPP, while FPP management activities may be accessed over WiFi.
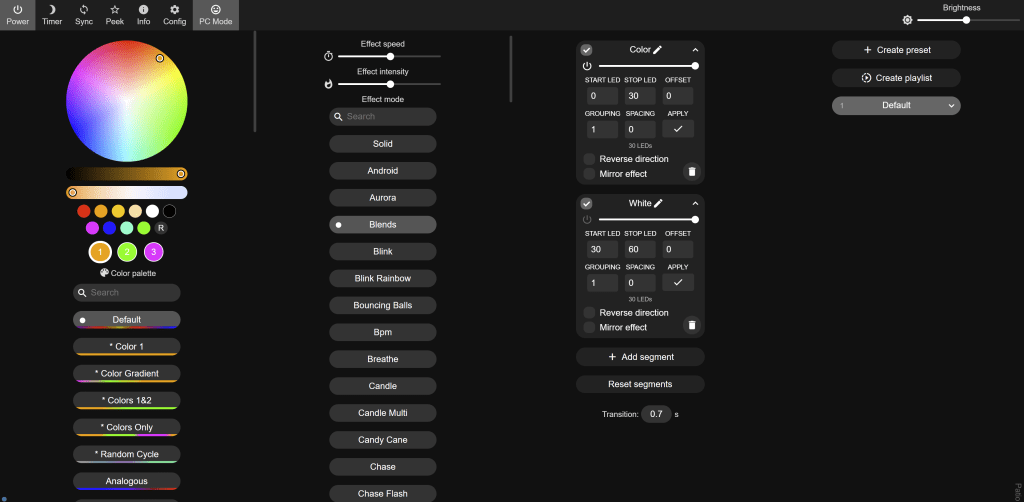
Following are a few xLights screenshots of my rudimentary setup.


A few pictures of my outdoor wiring setup. I bridge the in and out power lines on the coro pieces using heat shrink solder to reduce the voltage drop. I apply dielectric grease to all connectors to prevent corrosion. I use regular holiday light hangers to mount the icicle lights. The mini candy canes use 99 pixels, and the one dangling pixel is configured as a null pixel to even out the strand of 100. All runs use 18/3 SJOOW, and only the two right hand pillar pieces that are about 30′ away from the controller are power injected using 14/2 SJOOW cable.
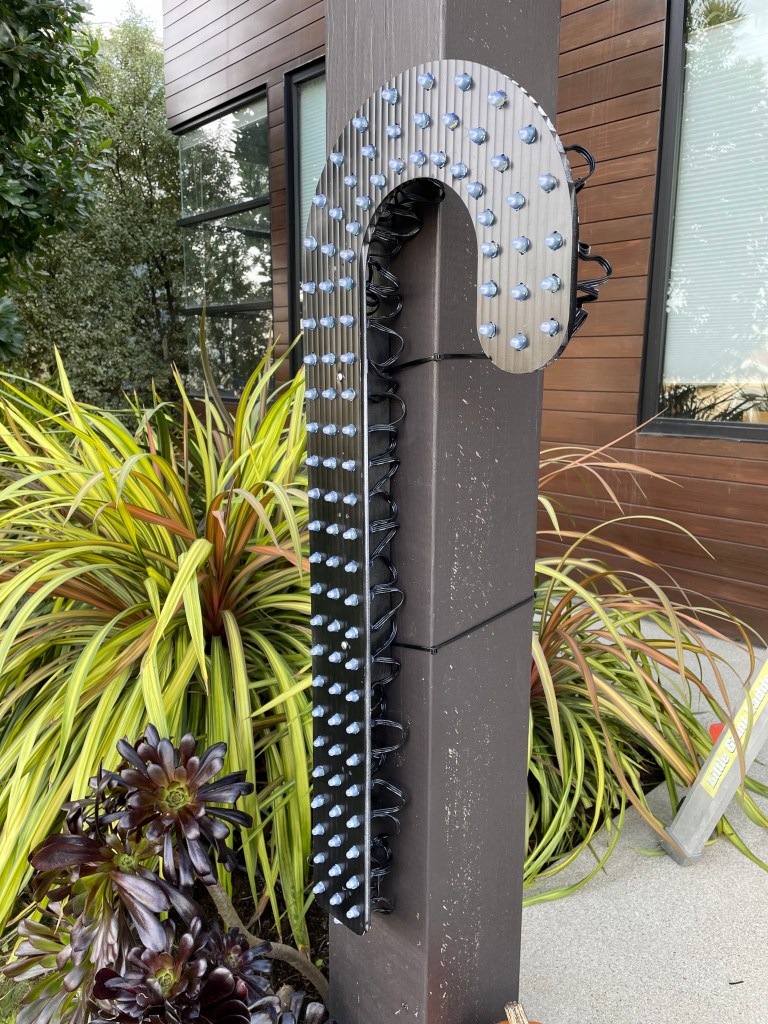


The end-result.

Getting back to permanently installed LED lights for the sake of safety and convenience. After all this effort, I am frankly less concerned about the cost of installation of permanent lights. I do like the Jellyfish lights and low profile trim, UL listed LED’s, 48V runs reduce the need for power injection, but proprietary software, don’t know if it is a bad thing. They do not have local installers, but do offer self-install. If I have to do self-install, I am very tempted to go for the Matto’s RGB Trim pre-buy, UL listed LED’s, 4″ spacing, low profile black aluminum trim. It is however unknown if Matto’s will restock or support the trim and LED’s, so it is a bit risky, but the price and quality is appealing. I still have a a few days to decide, or hope they keep stock or offer another group buy.
All in this was much more work than I anticipated, if I reuse all the cables next year it would be easier, but still, a lot of work for a few weeks of pretty lights.

I use a 3 pin Deutsch DT connector knock-off made by Amphenol from Waytek Wire. These are called the AT series. I use the triangular 3 way connector body. You can get all sorts of pins, weather seals, adaptors, panel mount, etc. They fit many gauges of wire, I use a 14 gauge flexible control cable from automationdirect, and an adhesive lined heat shrink. This connector is made for automotive environments, so rated for weather. The tool is not expensive, and neither are the connectors.
LikeLike
Could you upload the Mapped JSon file you use with WLED and your Govee lights ?
LikeLike