Last year was the first time I used RGB holiday lights for decorative outside lights, and this year Halloween I started with some Halloween pumpkins.

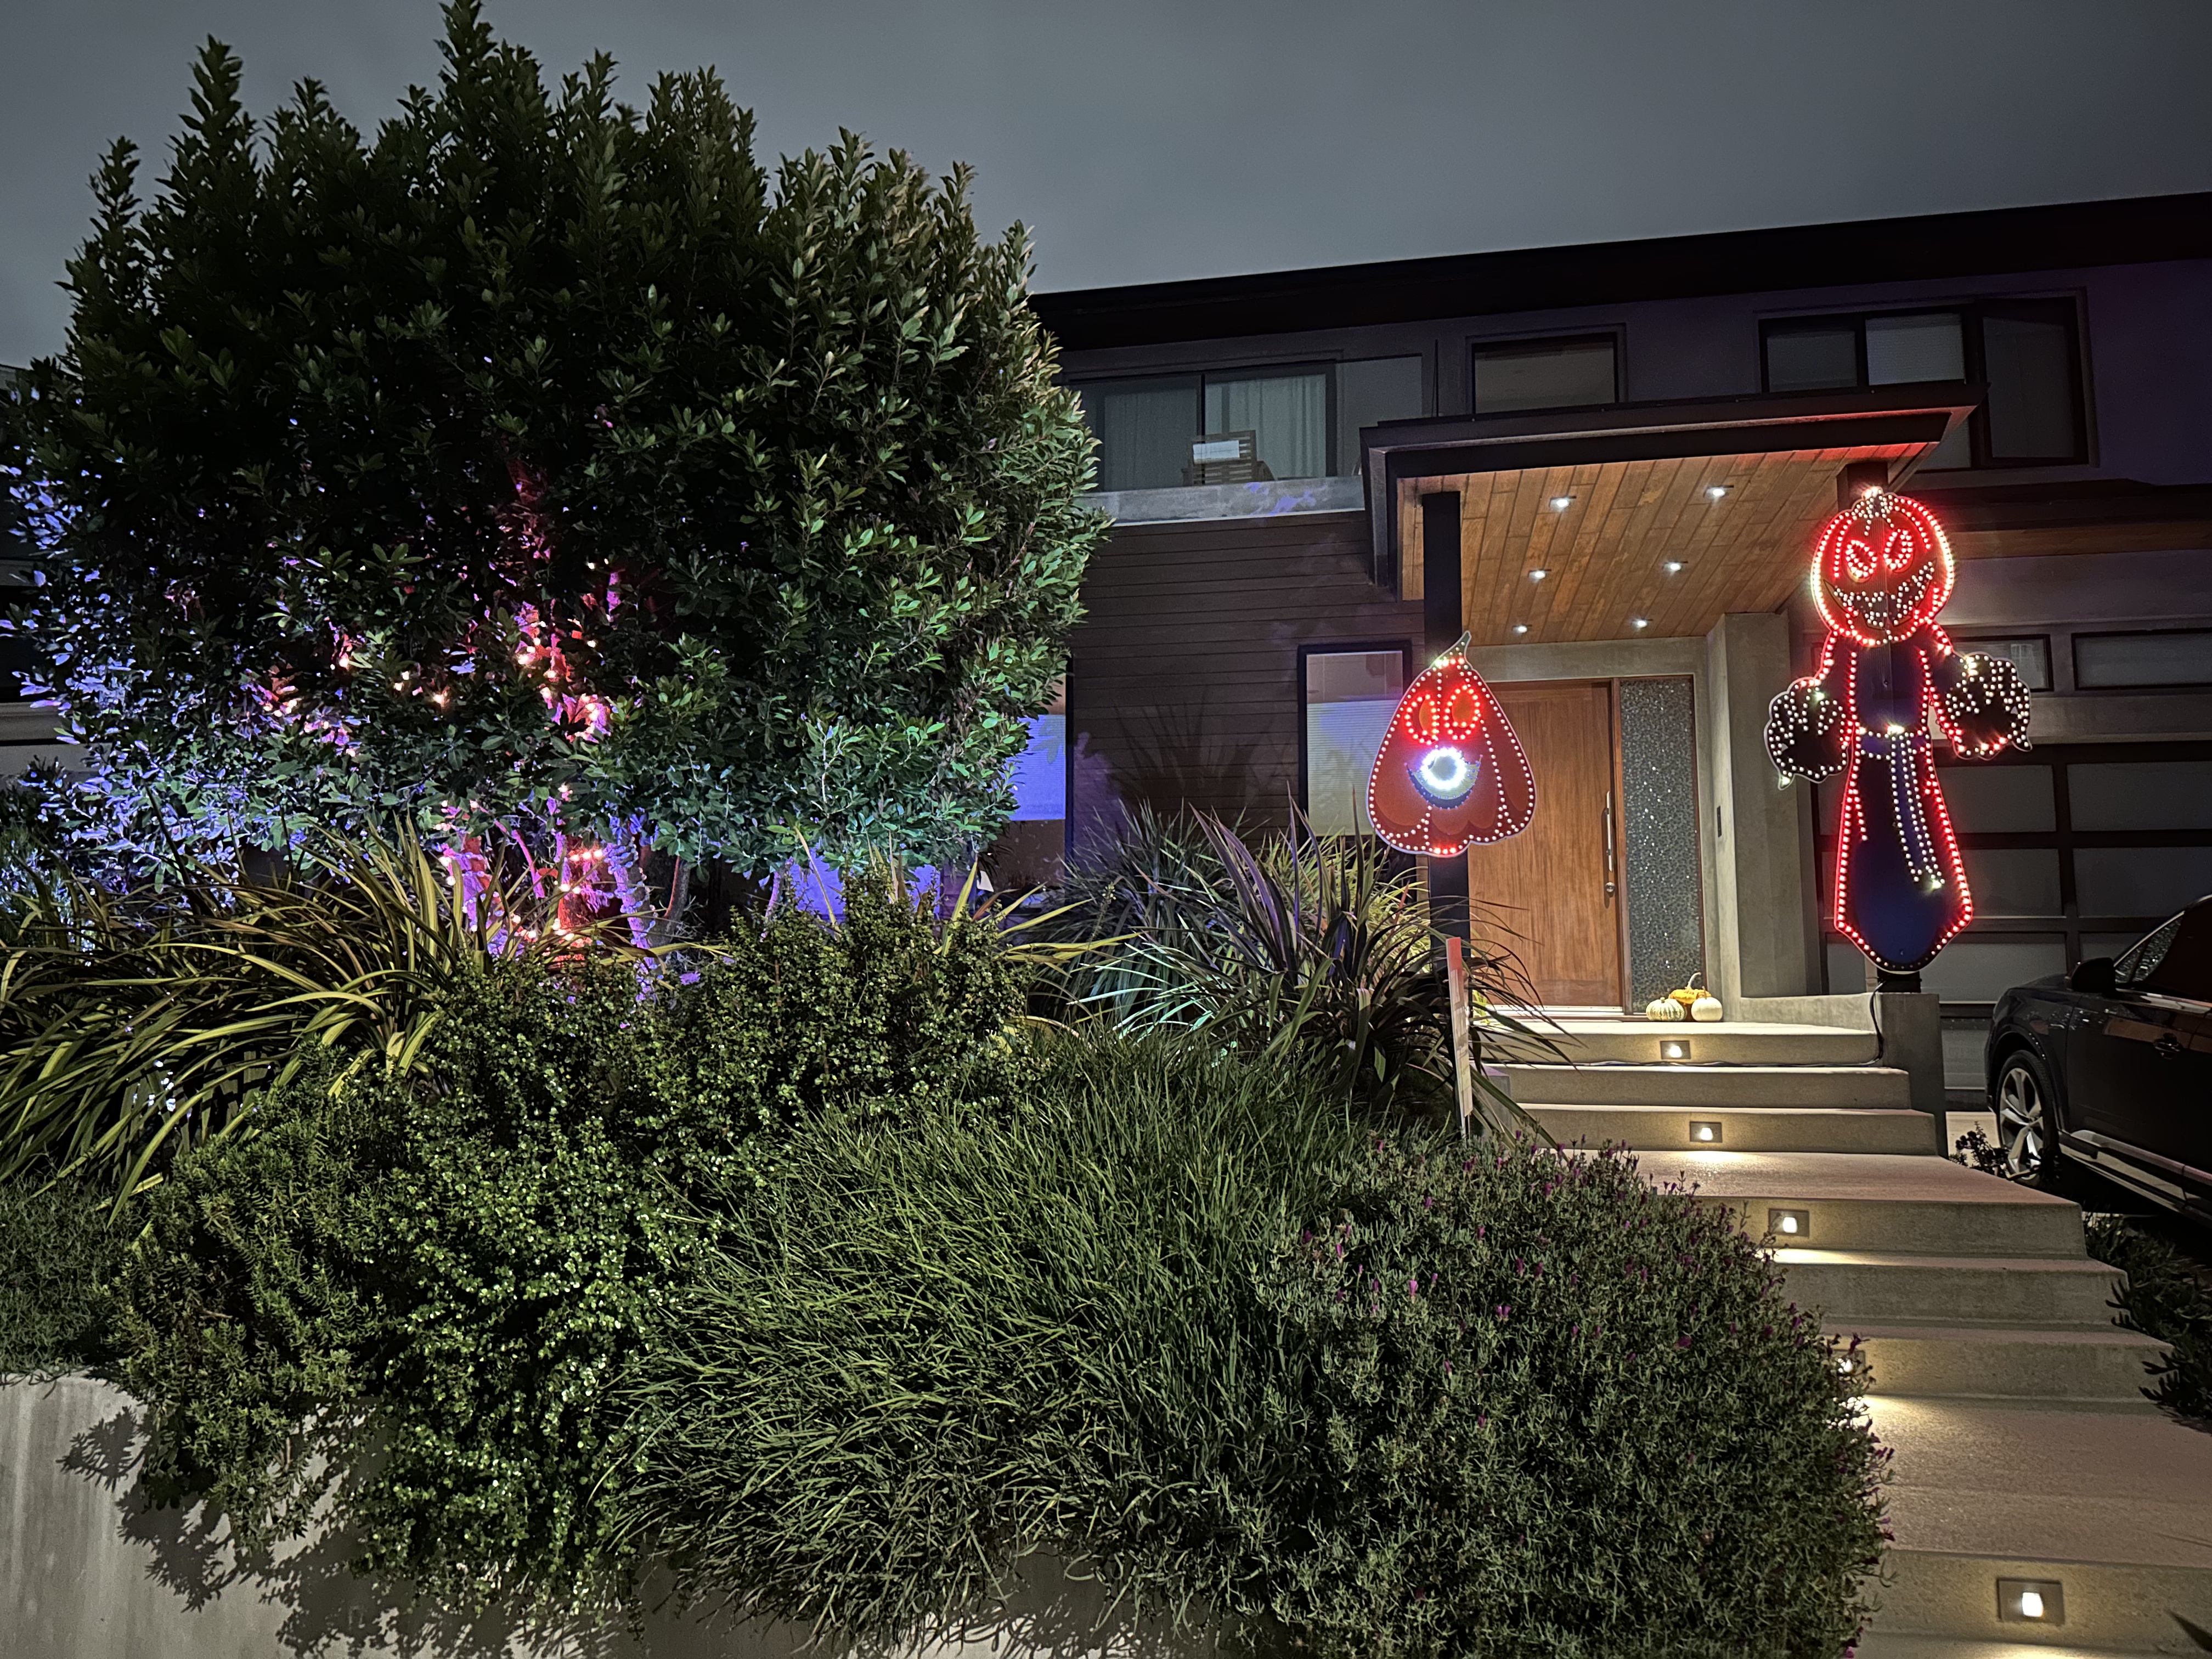
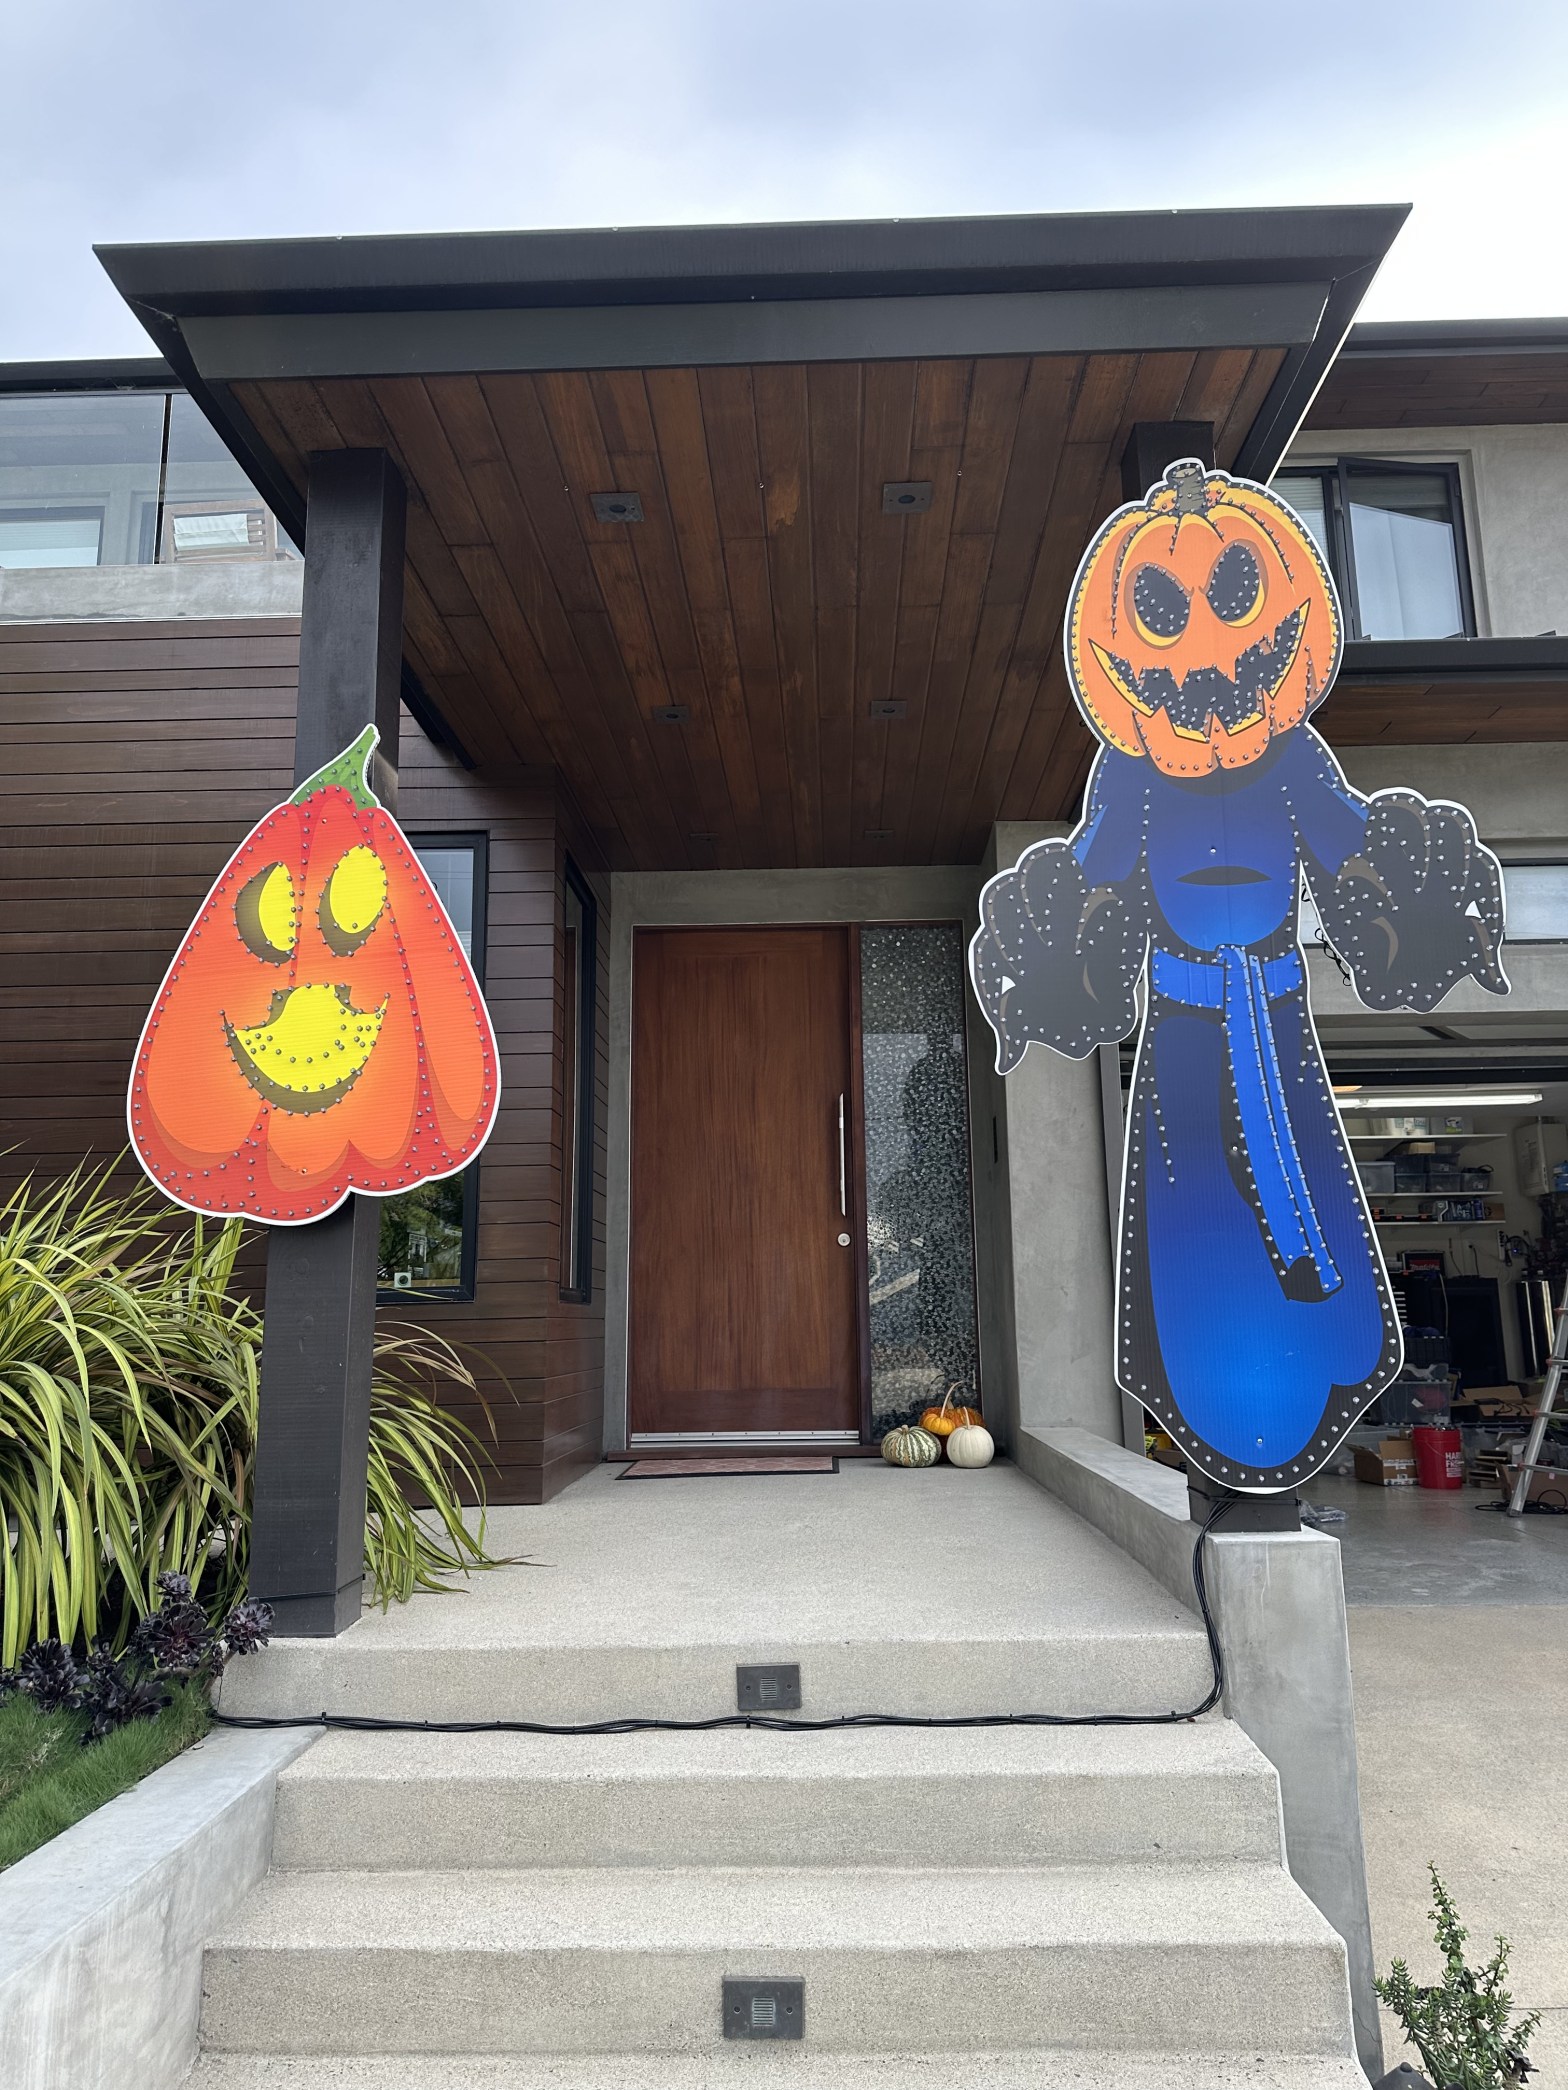
I used a Boscoyo Pumpkin King and a Goofy Gourd because they are printed in color so they look good day and night. The Pumpkin King stands 95″ / 2.4m tall, so it took a little extra effort to assemble and mount.
Last year I used wood planks as backing on my coro props, but that made hanging them a bit awkward. This year I used aluminum channel (cheap 1m sections of DIN mount rails) connected with short sections of thick wood dowels. I notched the channel so that I could hang it flush on the pillars using flat head screws, much easier. And as I did last year I spray painted the back of the coro black to make it blend in as the back is visible from the house entrance.


This year I used a Kulp K16A-B controller and a Wired Watts enclosure that saved me the effort of 3D printing my own mounting hardware, and I just used more ports vs. power injecting. I also added Wally’s Lights 30W RGB floods, and Mattos Designs Diamond Pixels Balls wrapped around the tree.

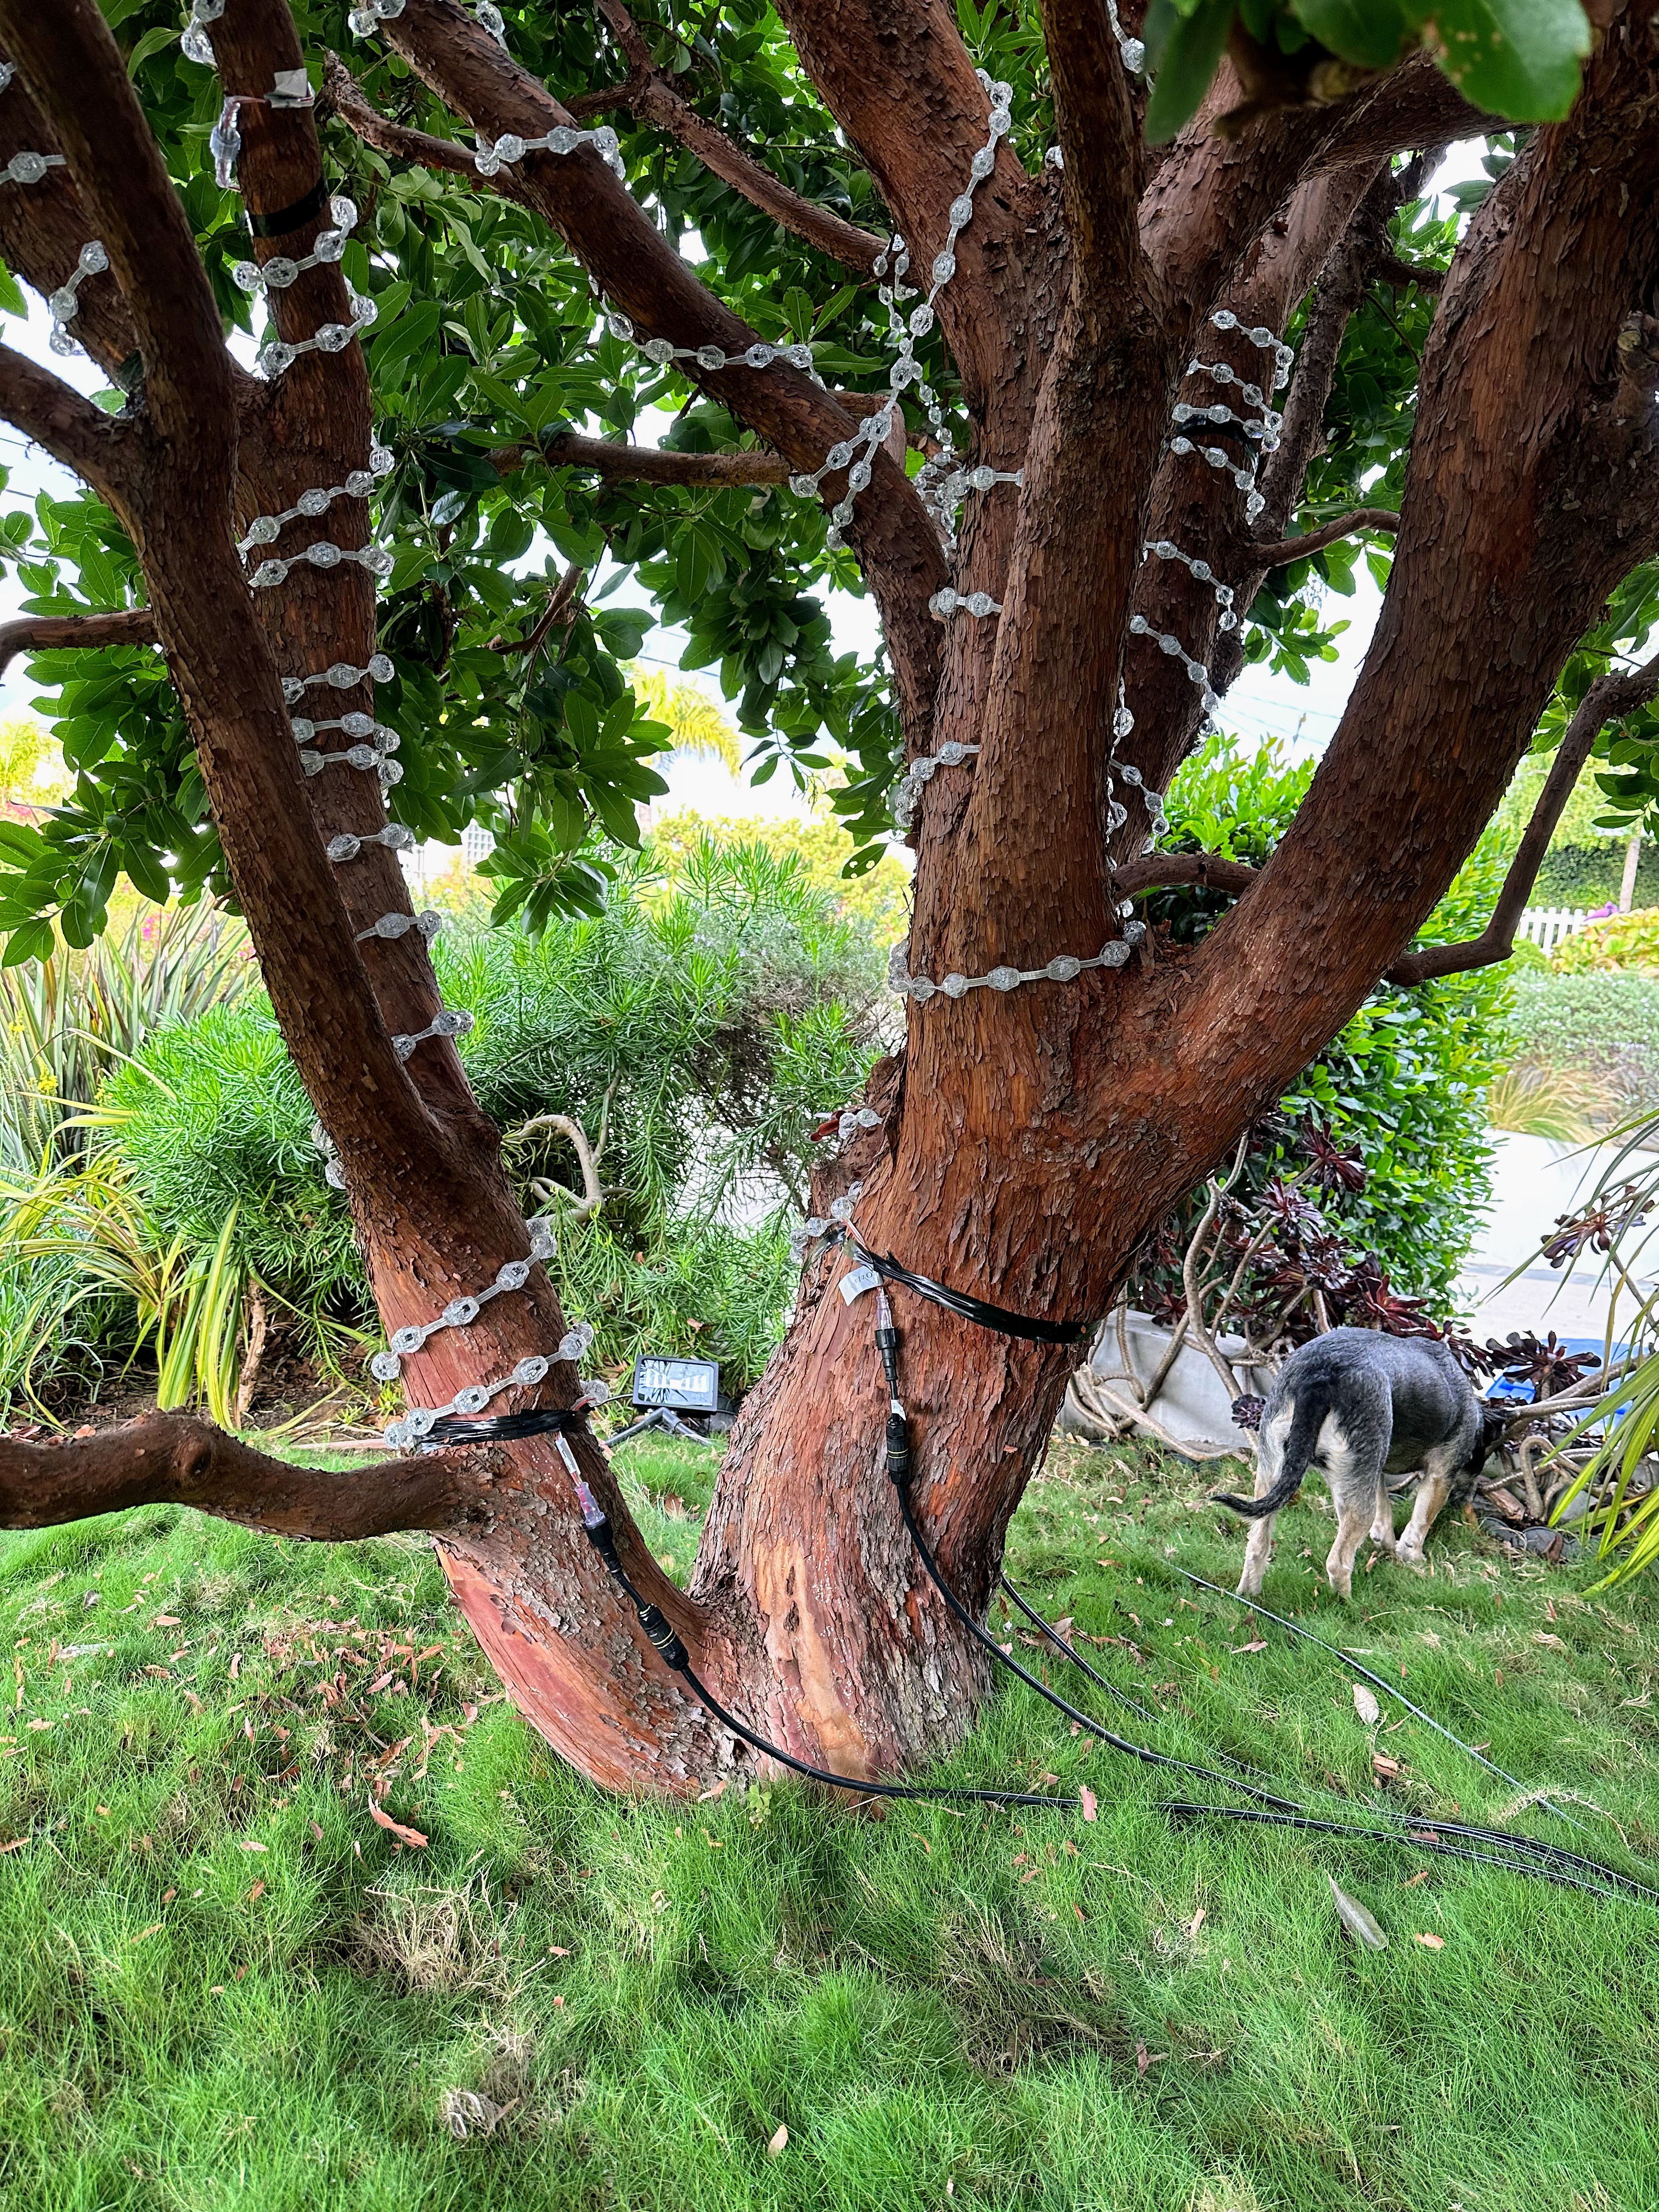

Wiring is still a bit of mess, and I’m still not happy with the XConnect plugs with thin wire and need for power balancing and power injection. I may run out of time this year, but I’m planning on changing to using 48V DC PSU’s and 48V-12V DC-DC converters mounted behind props. Using 48V instead of 12V requires lower current with the quadratic benefit of lower I2R losses over long cable runs, and (in theory) I should not have to do any power injection. Cost and availability wise I can use cheap 16/3 outdoor extension cords, and 48VDC PSU’s are readily available due to their use in industrial machines and datacenters, and 48V-12V DC-DC converts are cheap and readily available due to their use in golf carts.
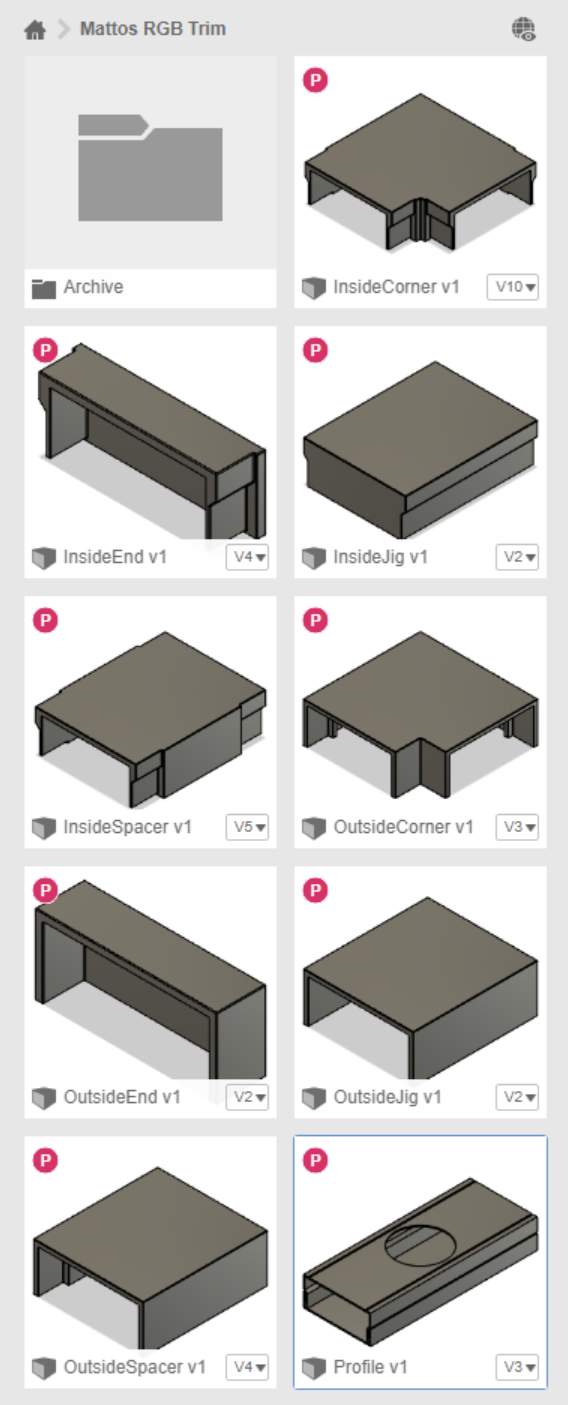
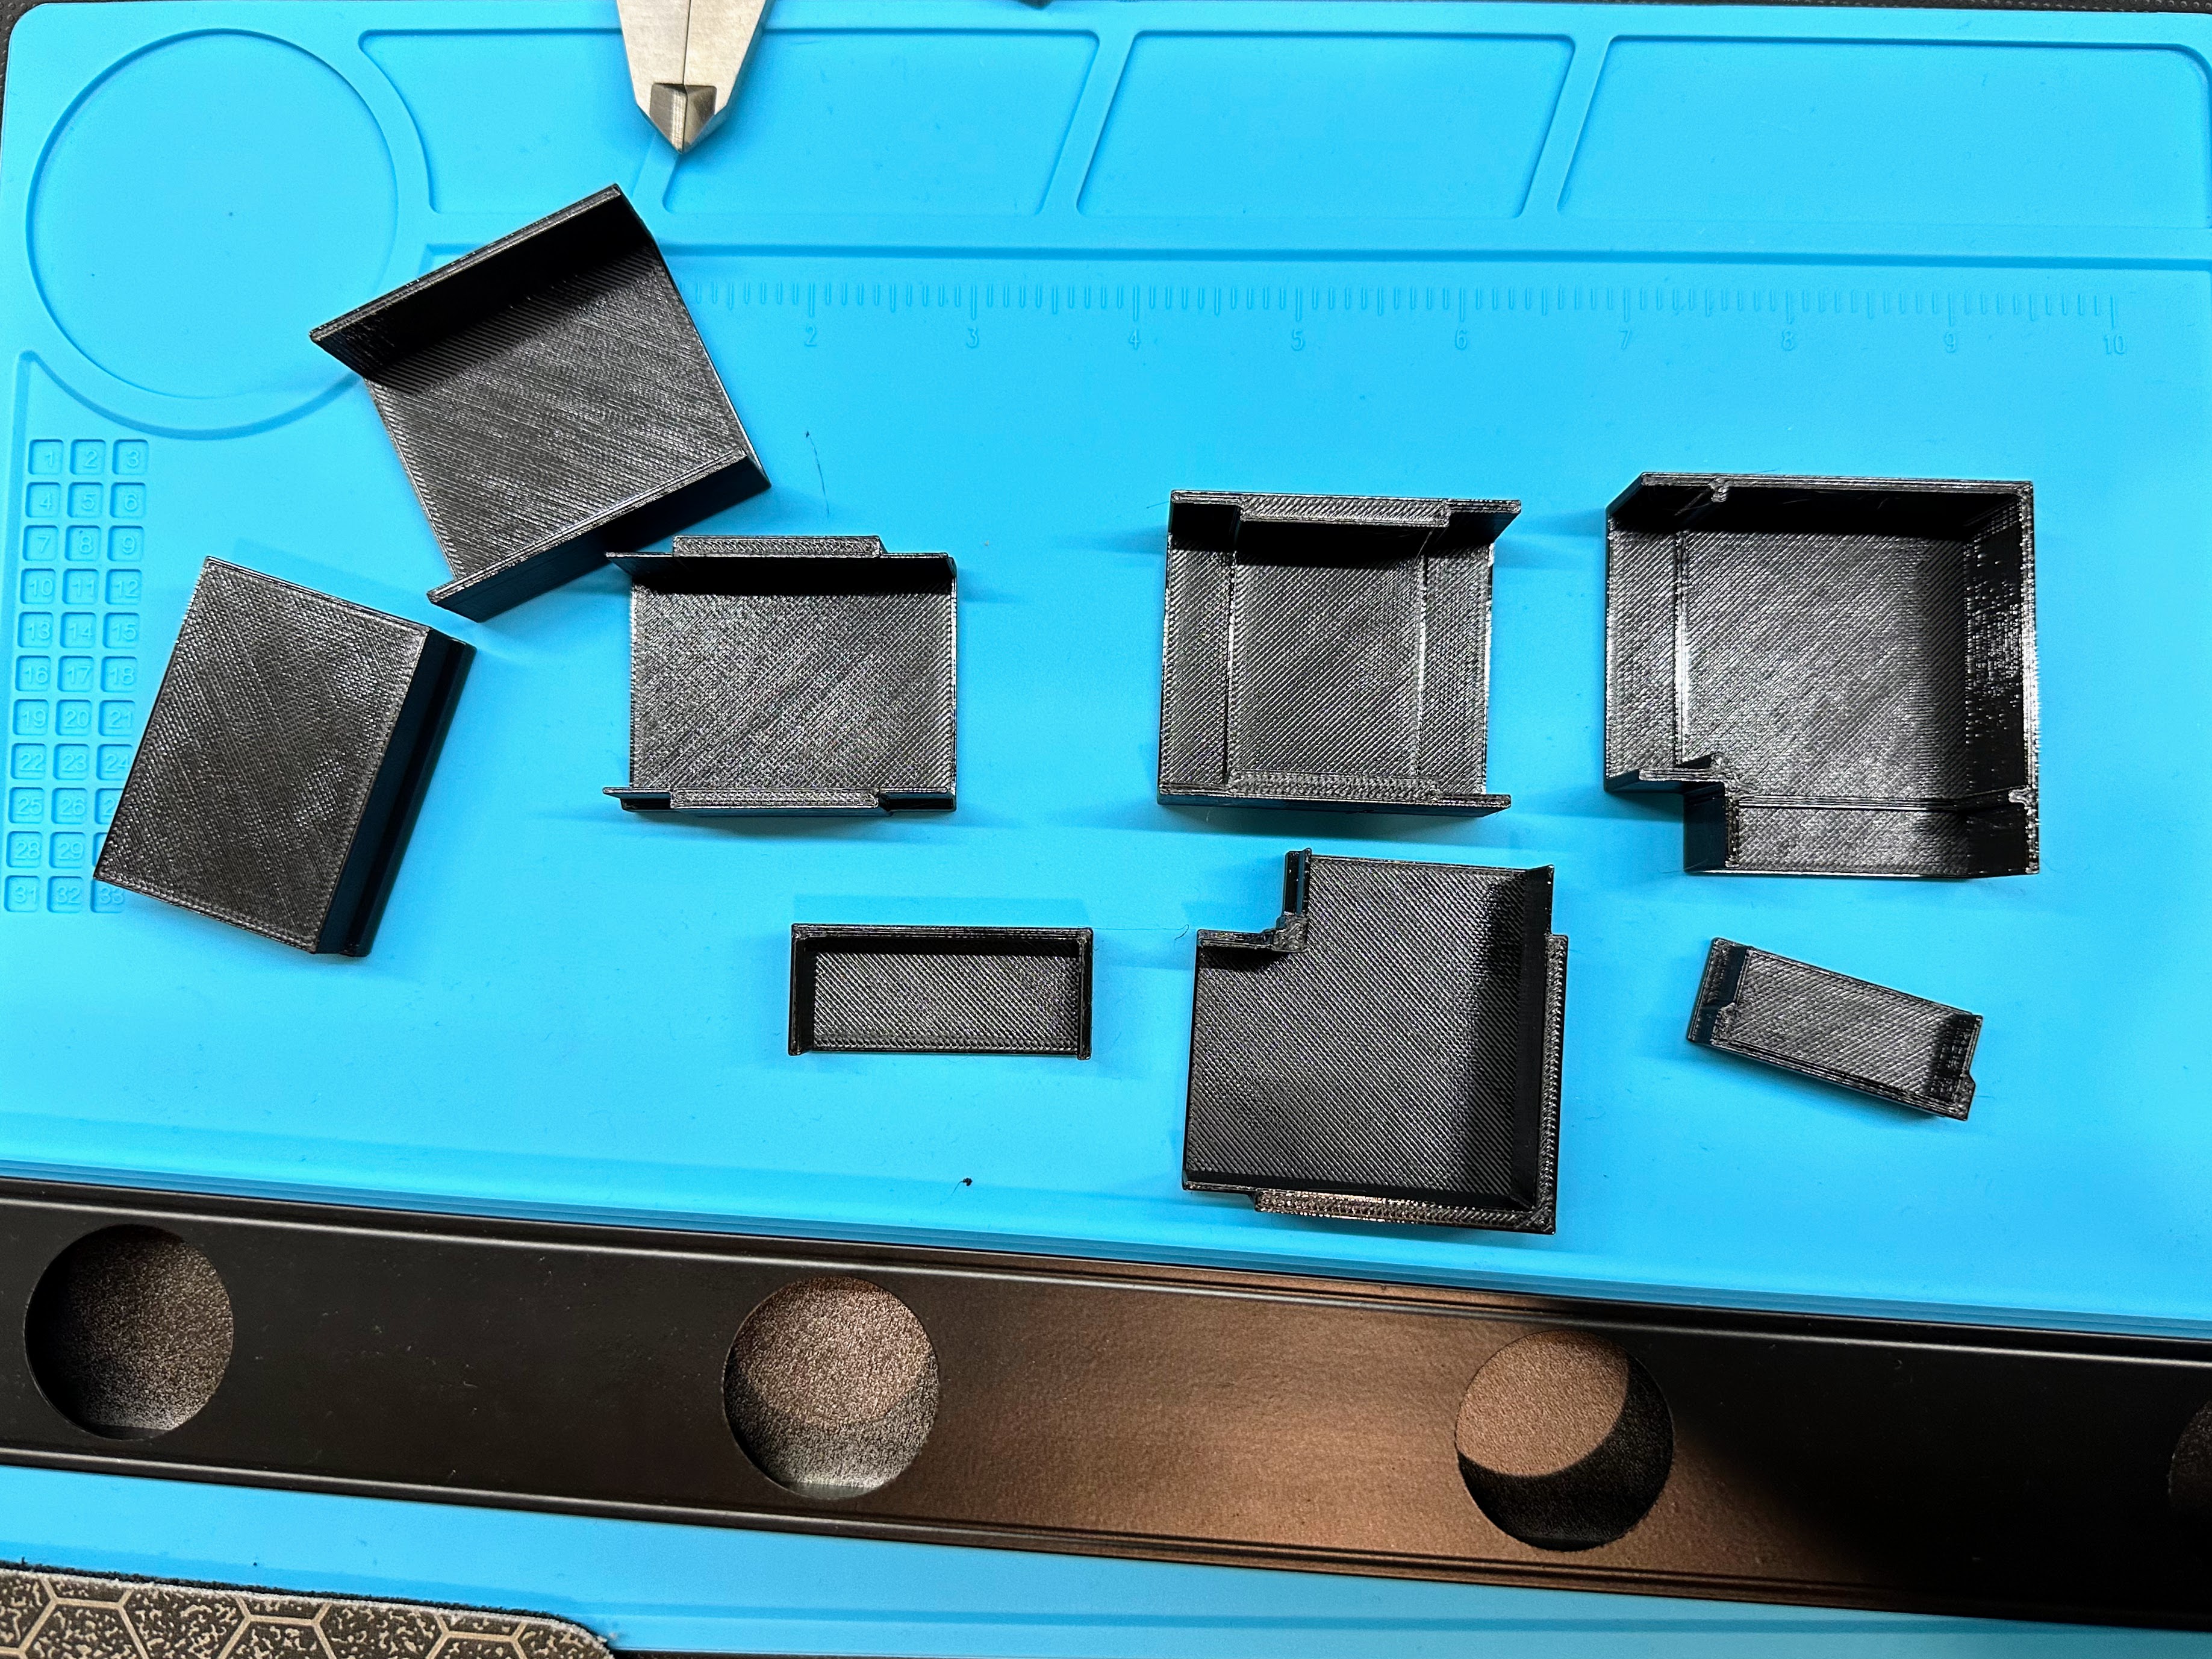
I have yet to mount the Mattos RGB Trim permanent holiday lights I bought early this year. Reason for the delay, other than procrastination, is I want corner connector and end cap pieces (pre-made or 3D printable), and it has proven to be exceedingly difficult to find a contractor or handyman that is capable of or interested in doing the high roof install work. Mattos has disappointingly not made good on the promised connectors, and unlike PermaTrack where connectors are readily available for purchase or self printing, I could not find anything for Mattos RGB Trim. I got tired of waiting, and decided to just make my own to fit my track. I designed the models to allow for printing without supports, and using PETG on my Prusa Mk3S+ printer the results look good and fit pretty well. The Fusion 360 designs are shared on Autodesk Gallery, and the 3D printable files are shared on Printables. I remain hopeful to have something up this year.

1 Comment
Comments are closed.